Impatience and Small Jobs
It’s been a few months of (not so) patiently waiting. As of today, our kit has been fully cut and is making it’s way across Australia!
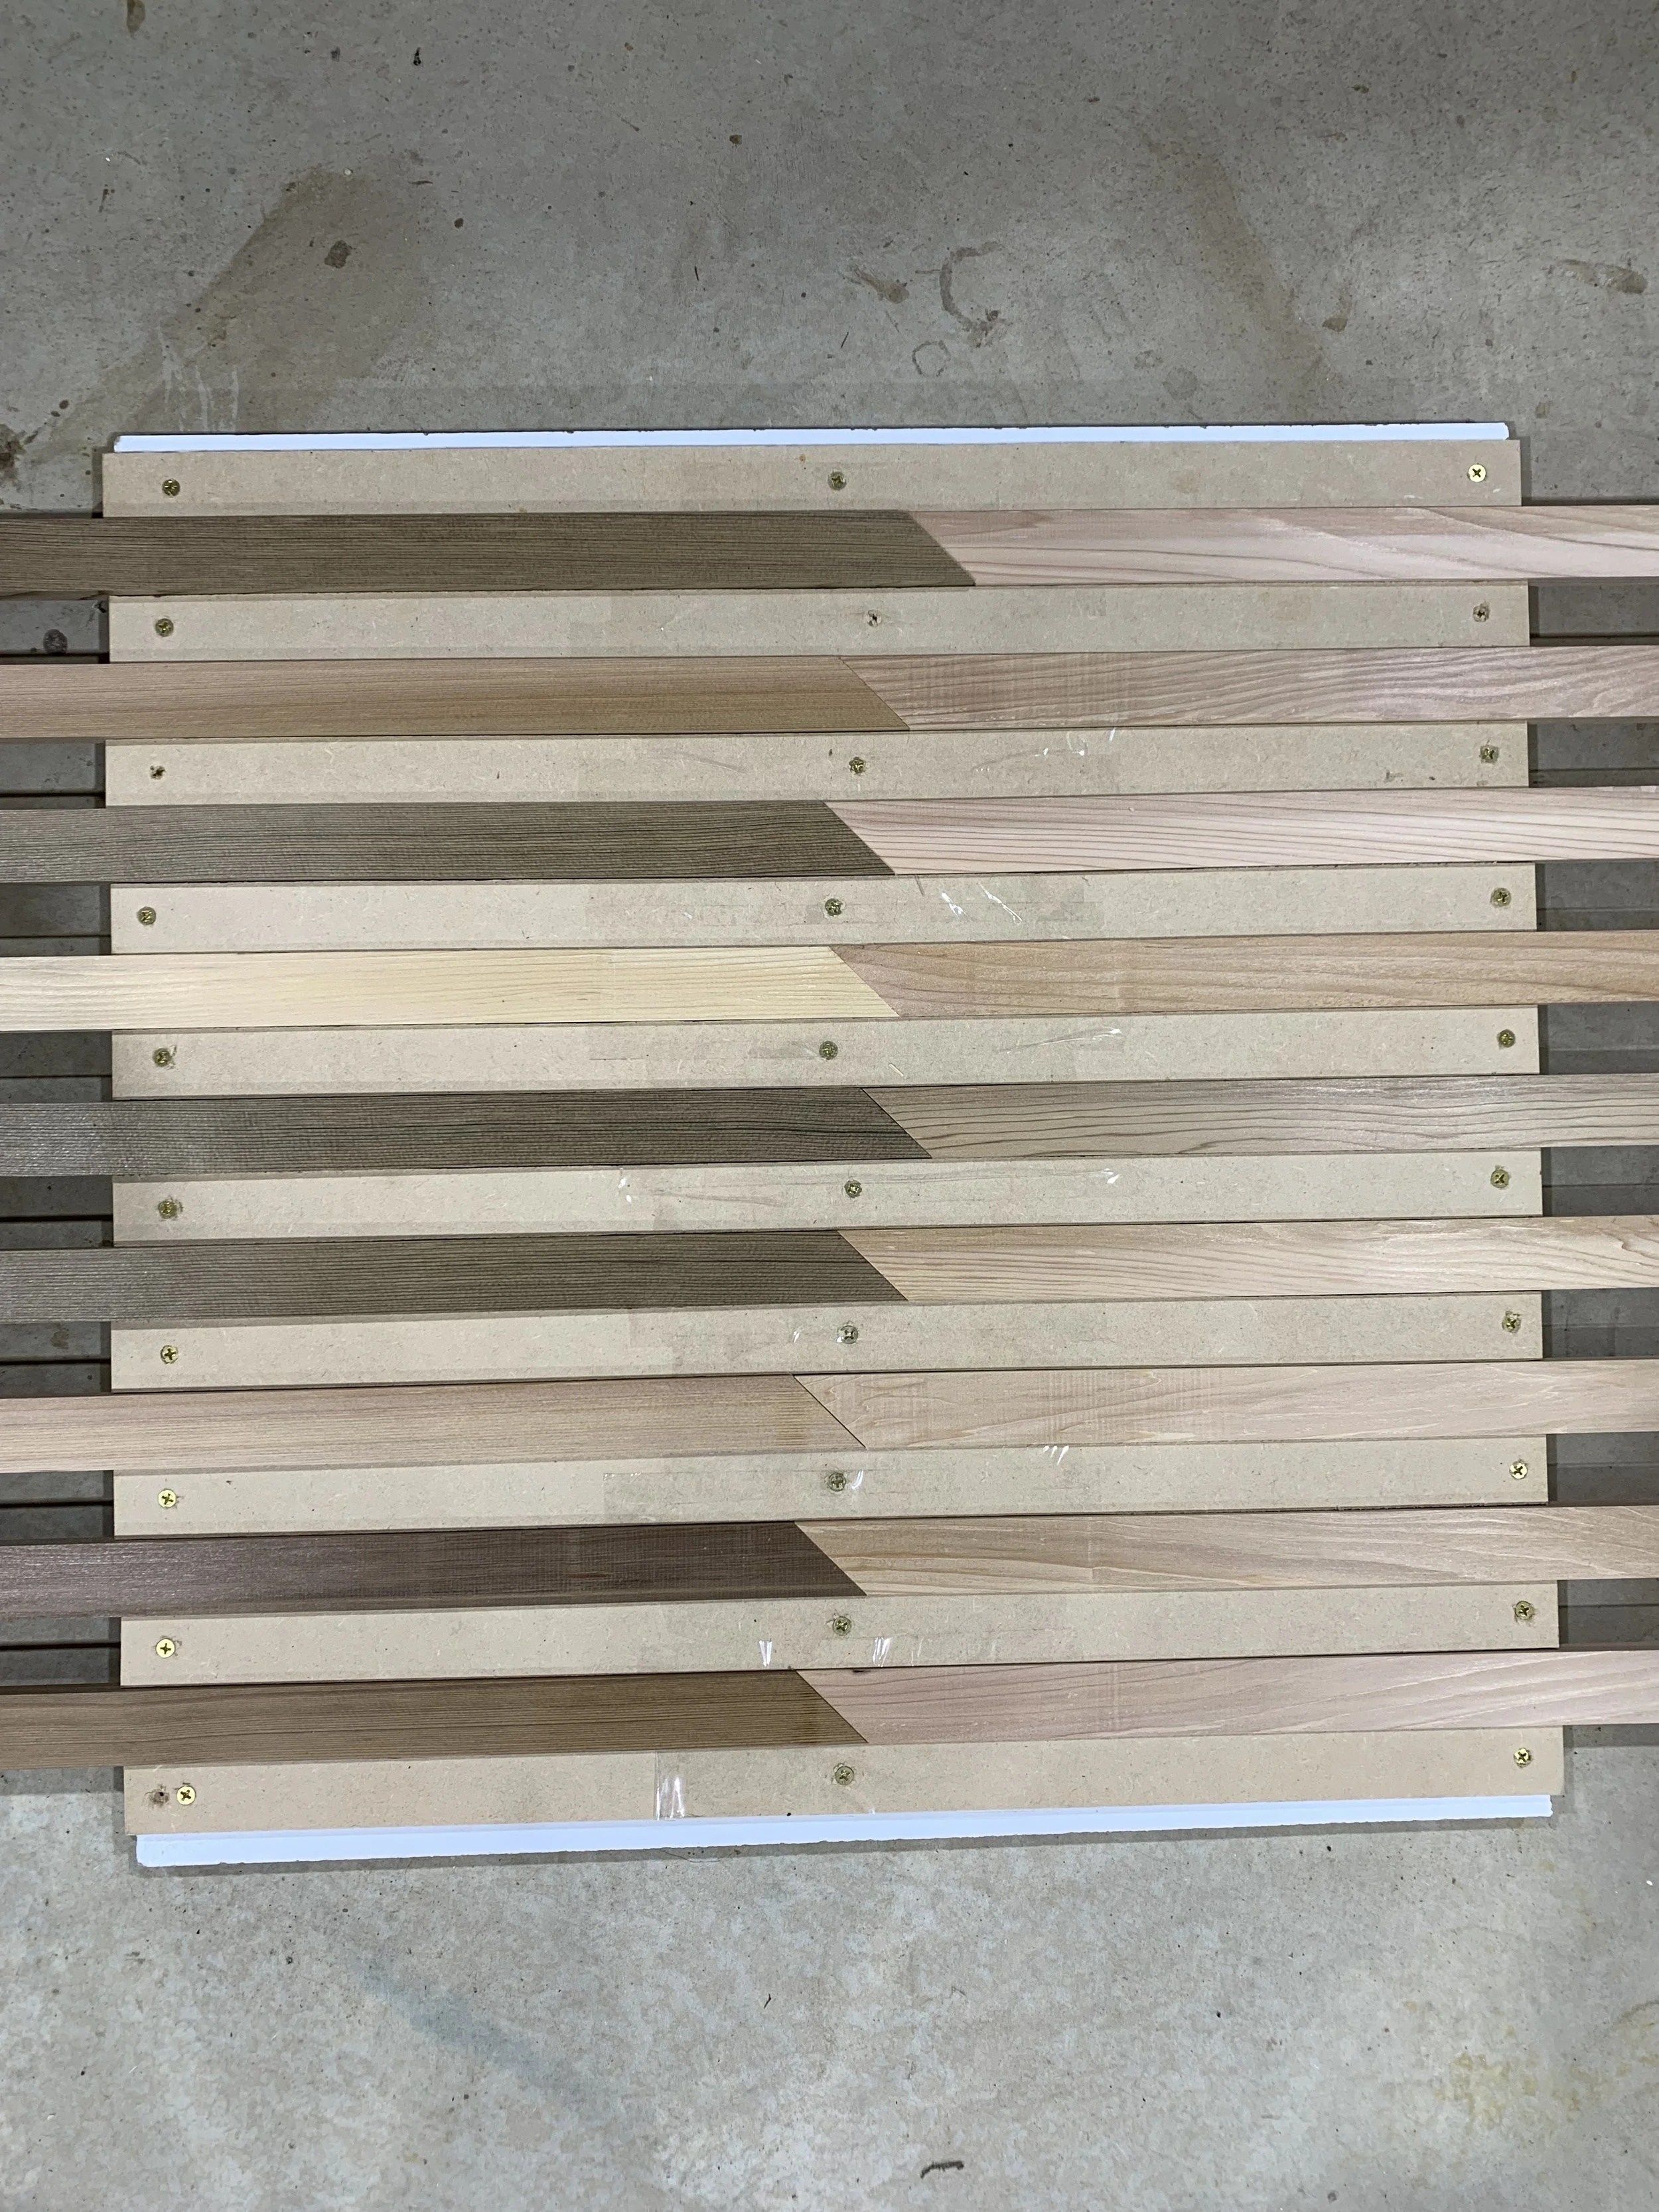
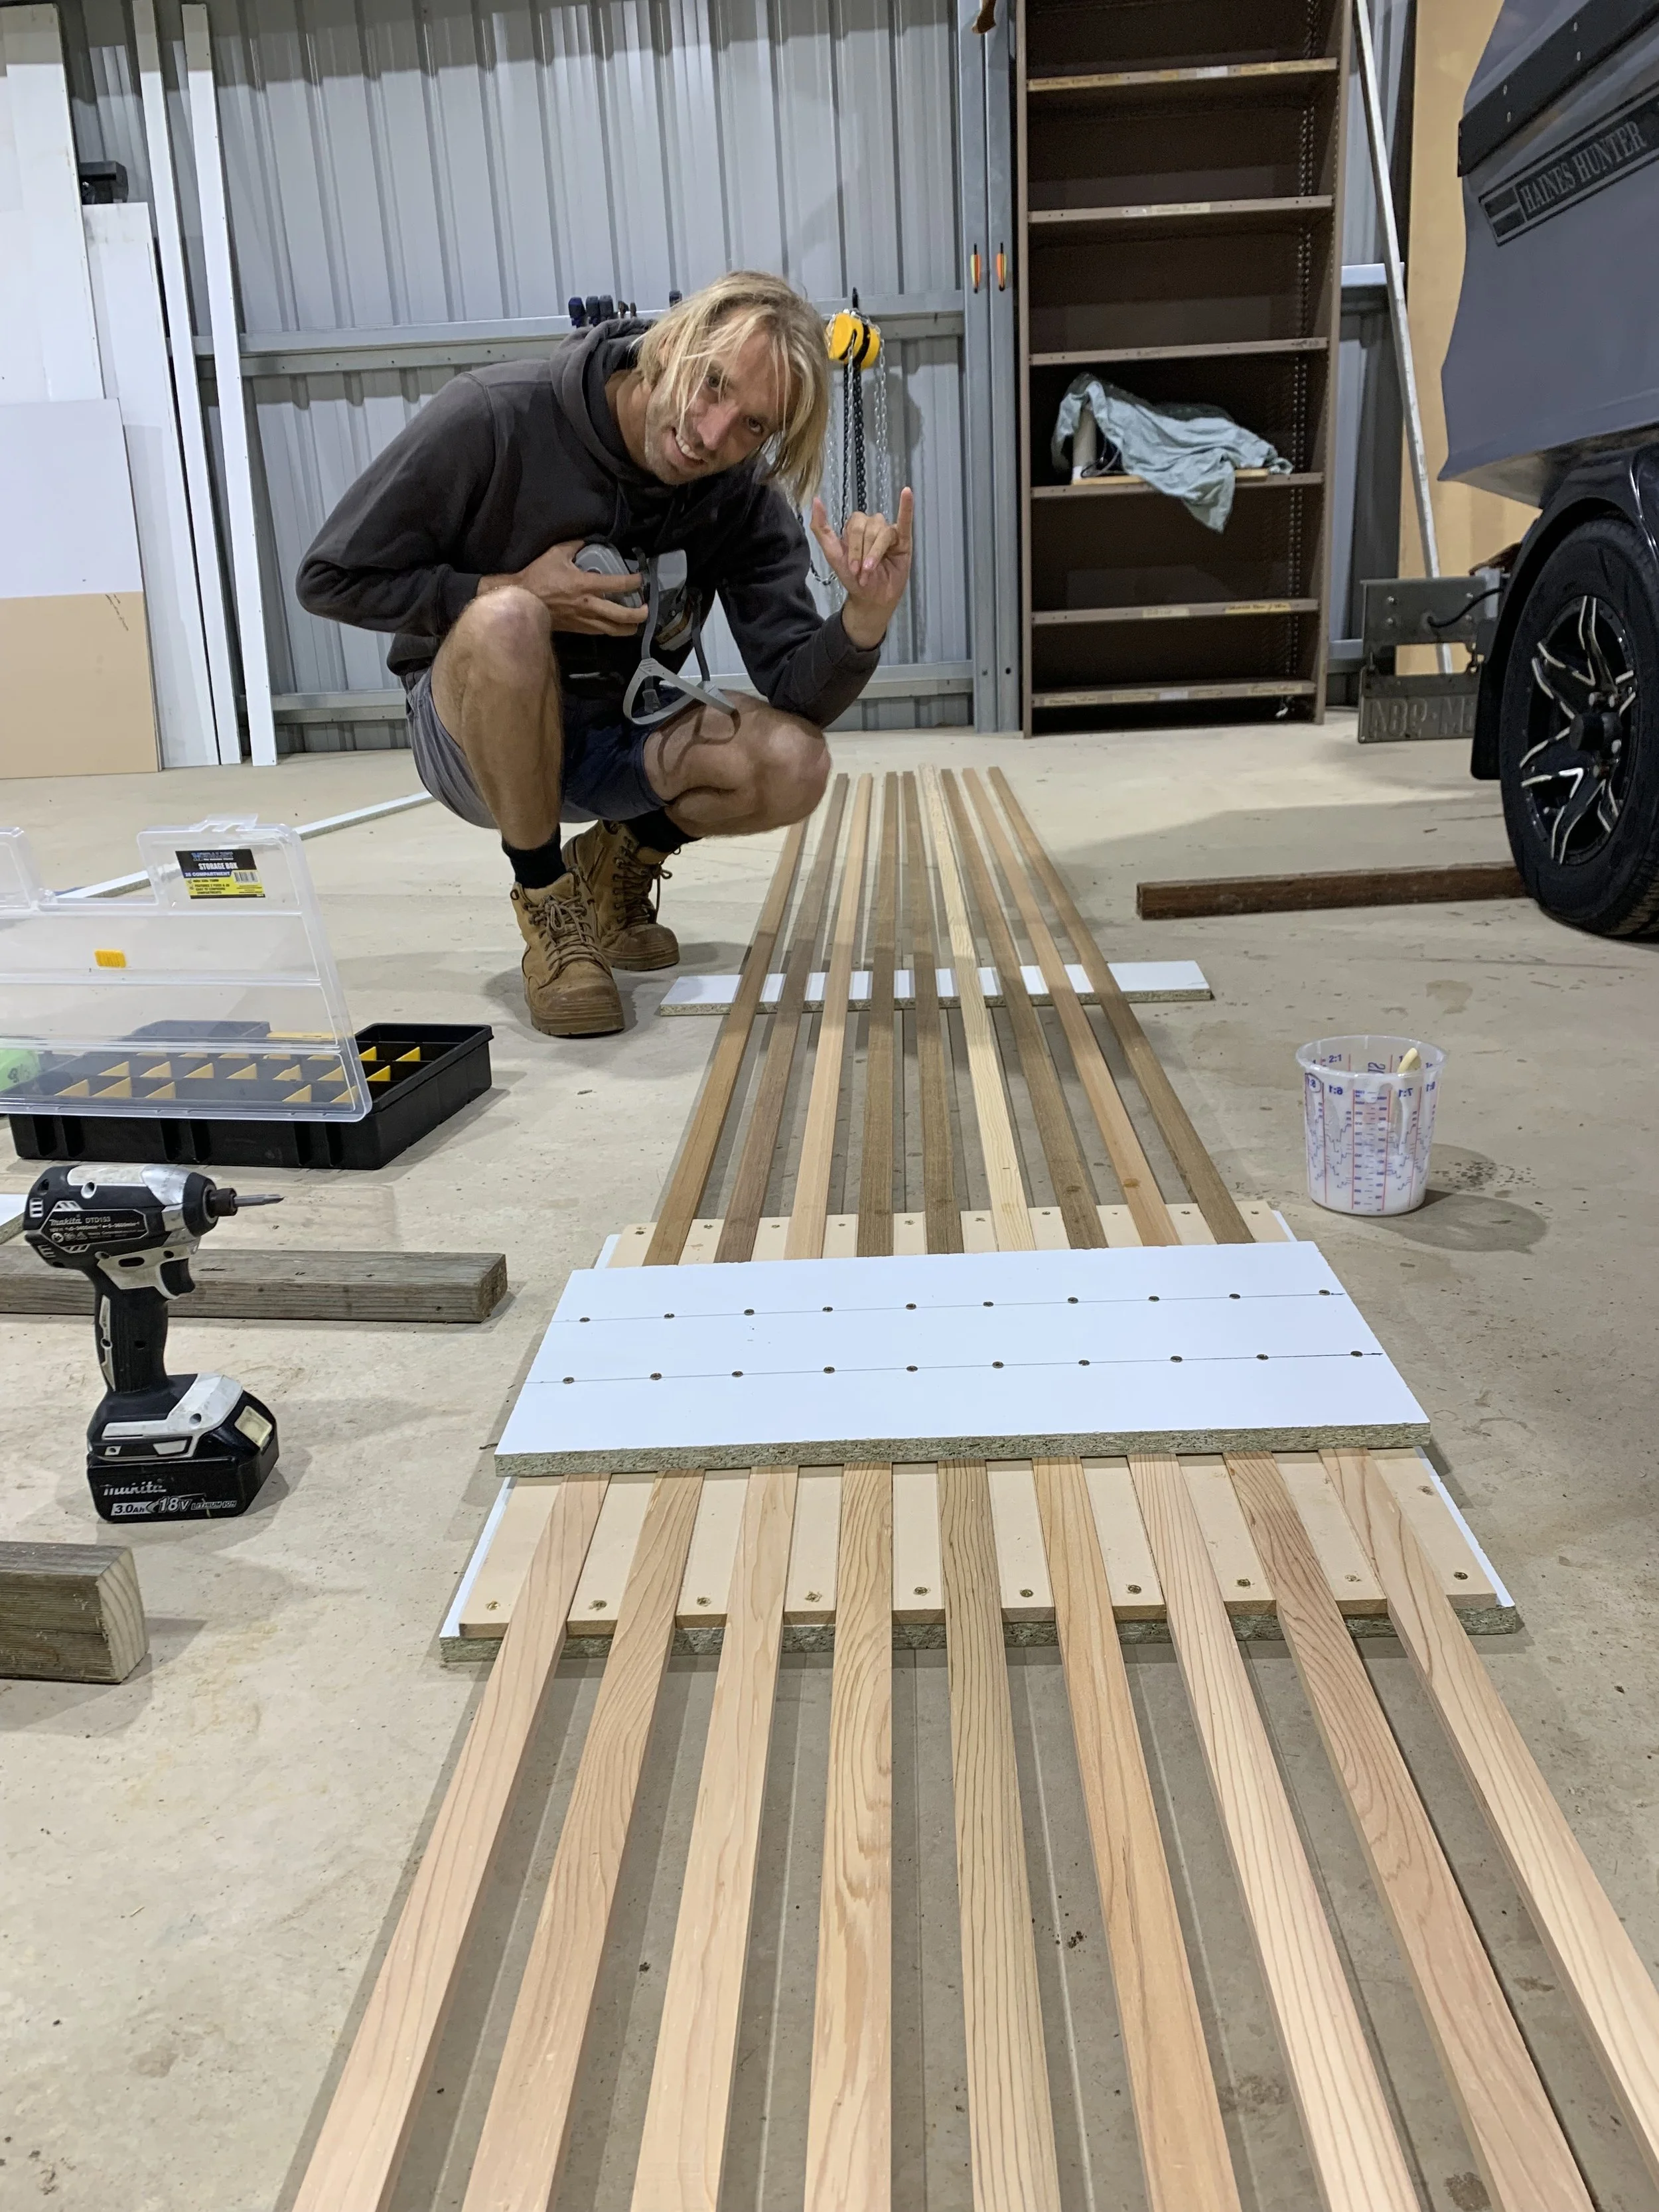
In the meantime, we’ve been organising all the smaller components of the build. One of these was the provision of Western Red Cedar, to be used in the forebeam, daggerboards and mast compression posts. Just sourcing these products in the sizes required was a bit of a headache, with very few companies supplying what we needed in WA.
Once this arrived, we got to work on joining all the strips for the forebeam. We made a jig up, and epoxy glued pieces together.
Another job we could do was creating the foam biscuits required for joining some of the larger sections. Each 2400x1200 panel comes with a Z join pre-made on the long side; but for areas like the bridge deck, main bulkheads, cabin top, etc, a join is needed on the short side. To achieve this, we will de core the foam from the laminate, and insert a ‘biscuit’ to create the join. The location of the join determines the thickness required for the biscuit, which is just a piece of foam laminated with 2x 400gm glass each side. It was a good chance to test out a few different methods of glassing with the epoxy - we’ve seen some builders exclusively use squeegees to push out any air bubbles and wet out the cloth, whereas with our previous vinyl ester projects we had just used a few different types of fibreglass rollers. And then we’d seen some home builds just use a foam roller to whack some resin on and left it at that…
We found that a combination of both squeegee and rollers worked best for us. A squeegee to spread the resin and initial pull through, and then the rollers to work through any dry spots and/or bubbles.
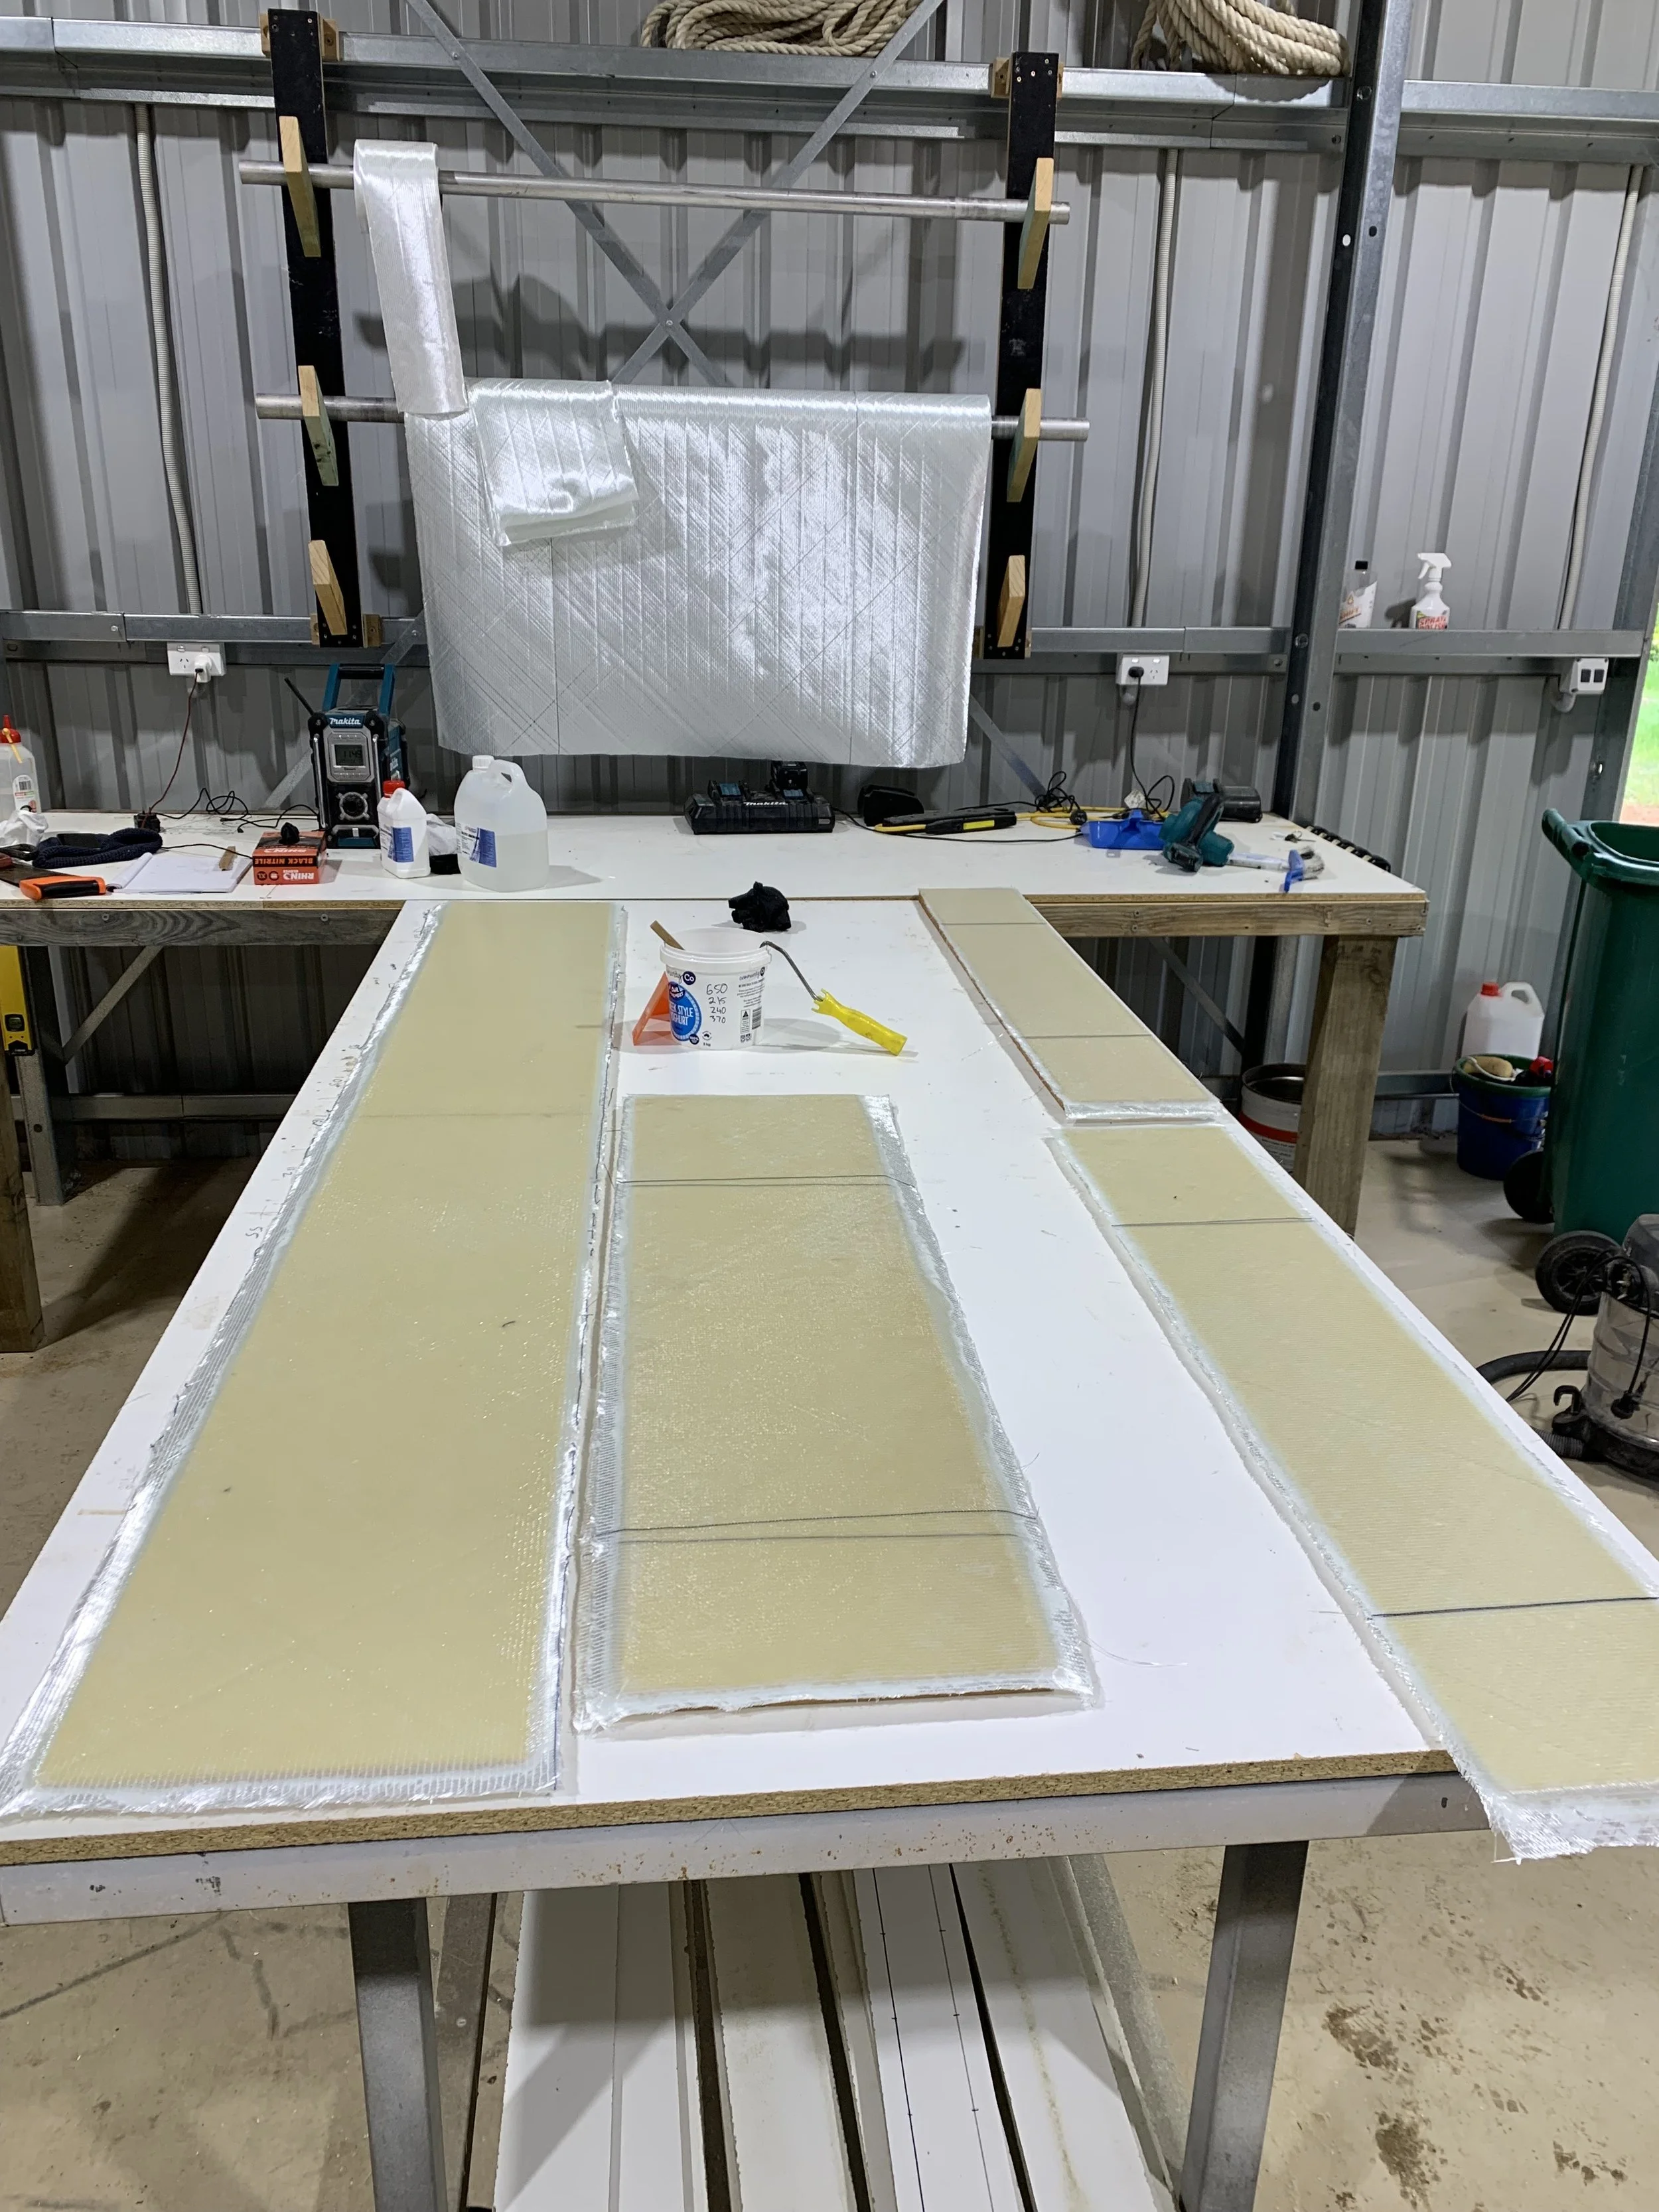
Fibreglass biscuits
These are now ready to have excess removed and be cut to size as required. Our homemade fibreglass rolling station and moveable table works a treat.
As far as glassing goes, that’s about all we can do for now. We prepared some melamine strips to clamp DuFlex sheets together, and had LVLs delivered for the joining jig.
Our build plans from Schionning were delivered, and we spent many hours reading through them, formulating a more solid plan of attack for construction. Our original plan was to separate the kit into two deliveries, Part A and Part B, to maximise the space in the shed. We had planned to build all the harder, time and space consuming parts first, and then the hulls second. However, when we got our quotes back and looked at the timeframes for build slots, plus economic factors and shipping costs, we found that it was much more cost effective to get the whole kit as a single delivery. Luckily for us, we made this decision and confirmed the build and pricing just weeks before ATL announced a price increase of 2-5% across the factory, saving us around 5-15k dollars on the kit!
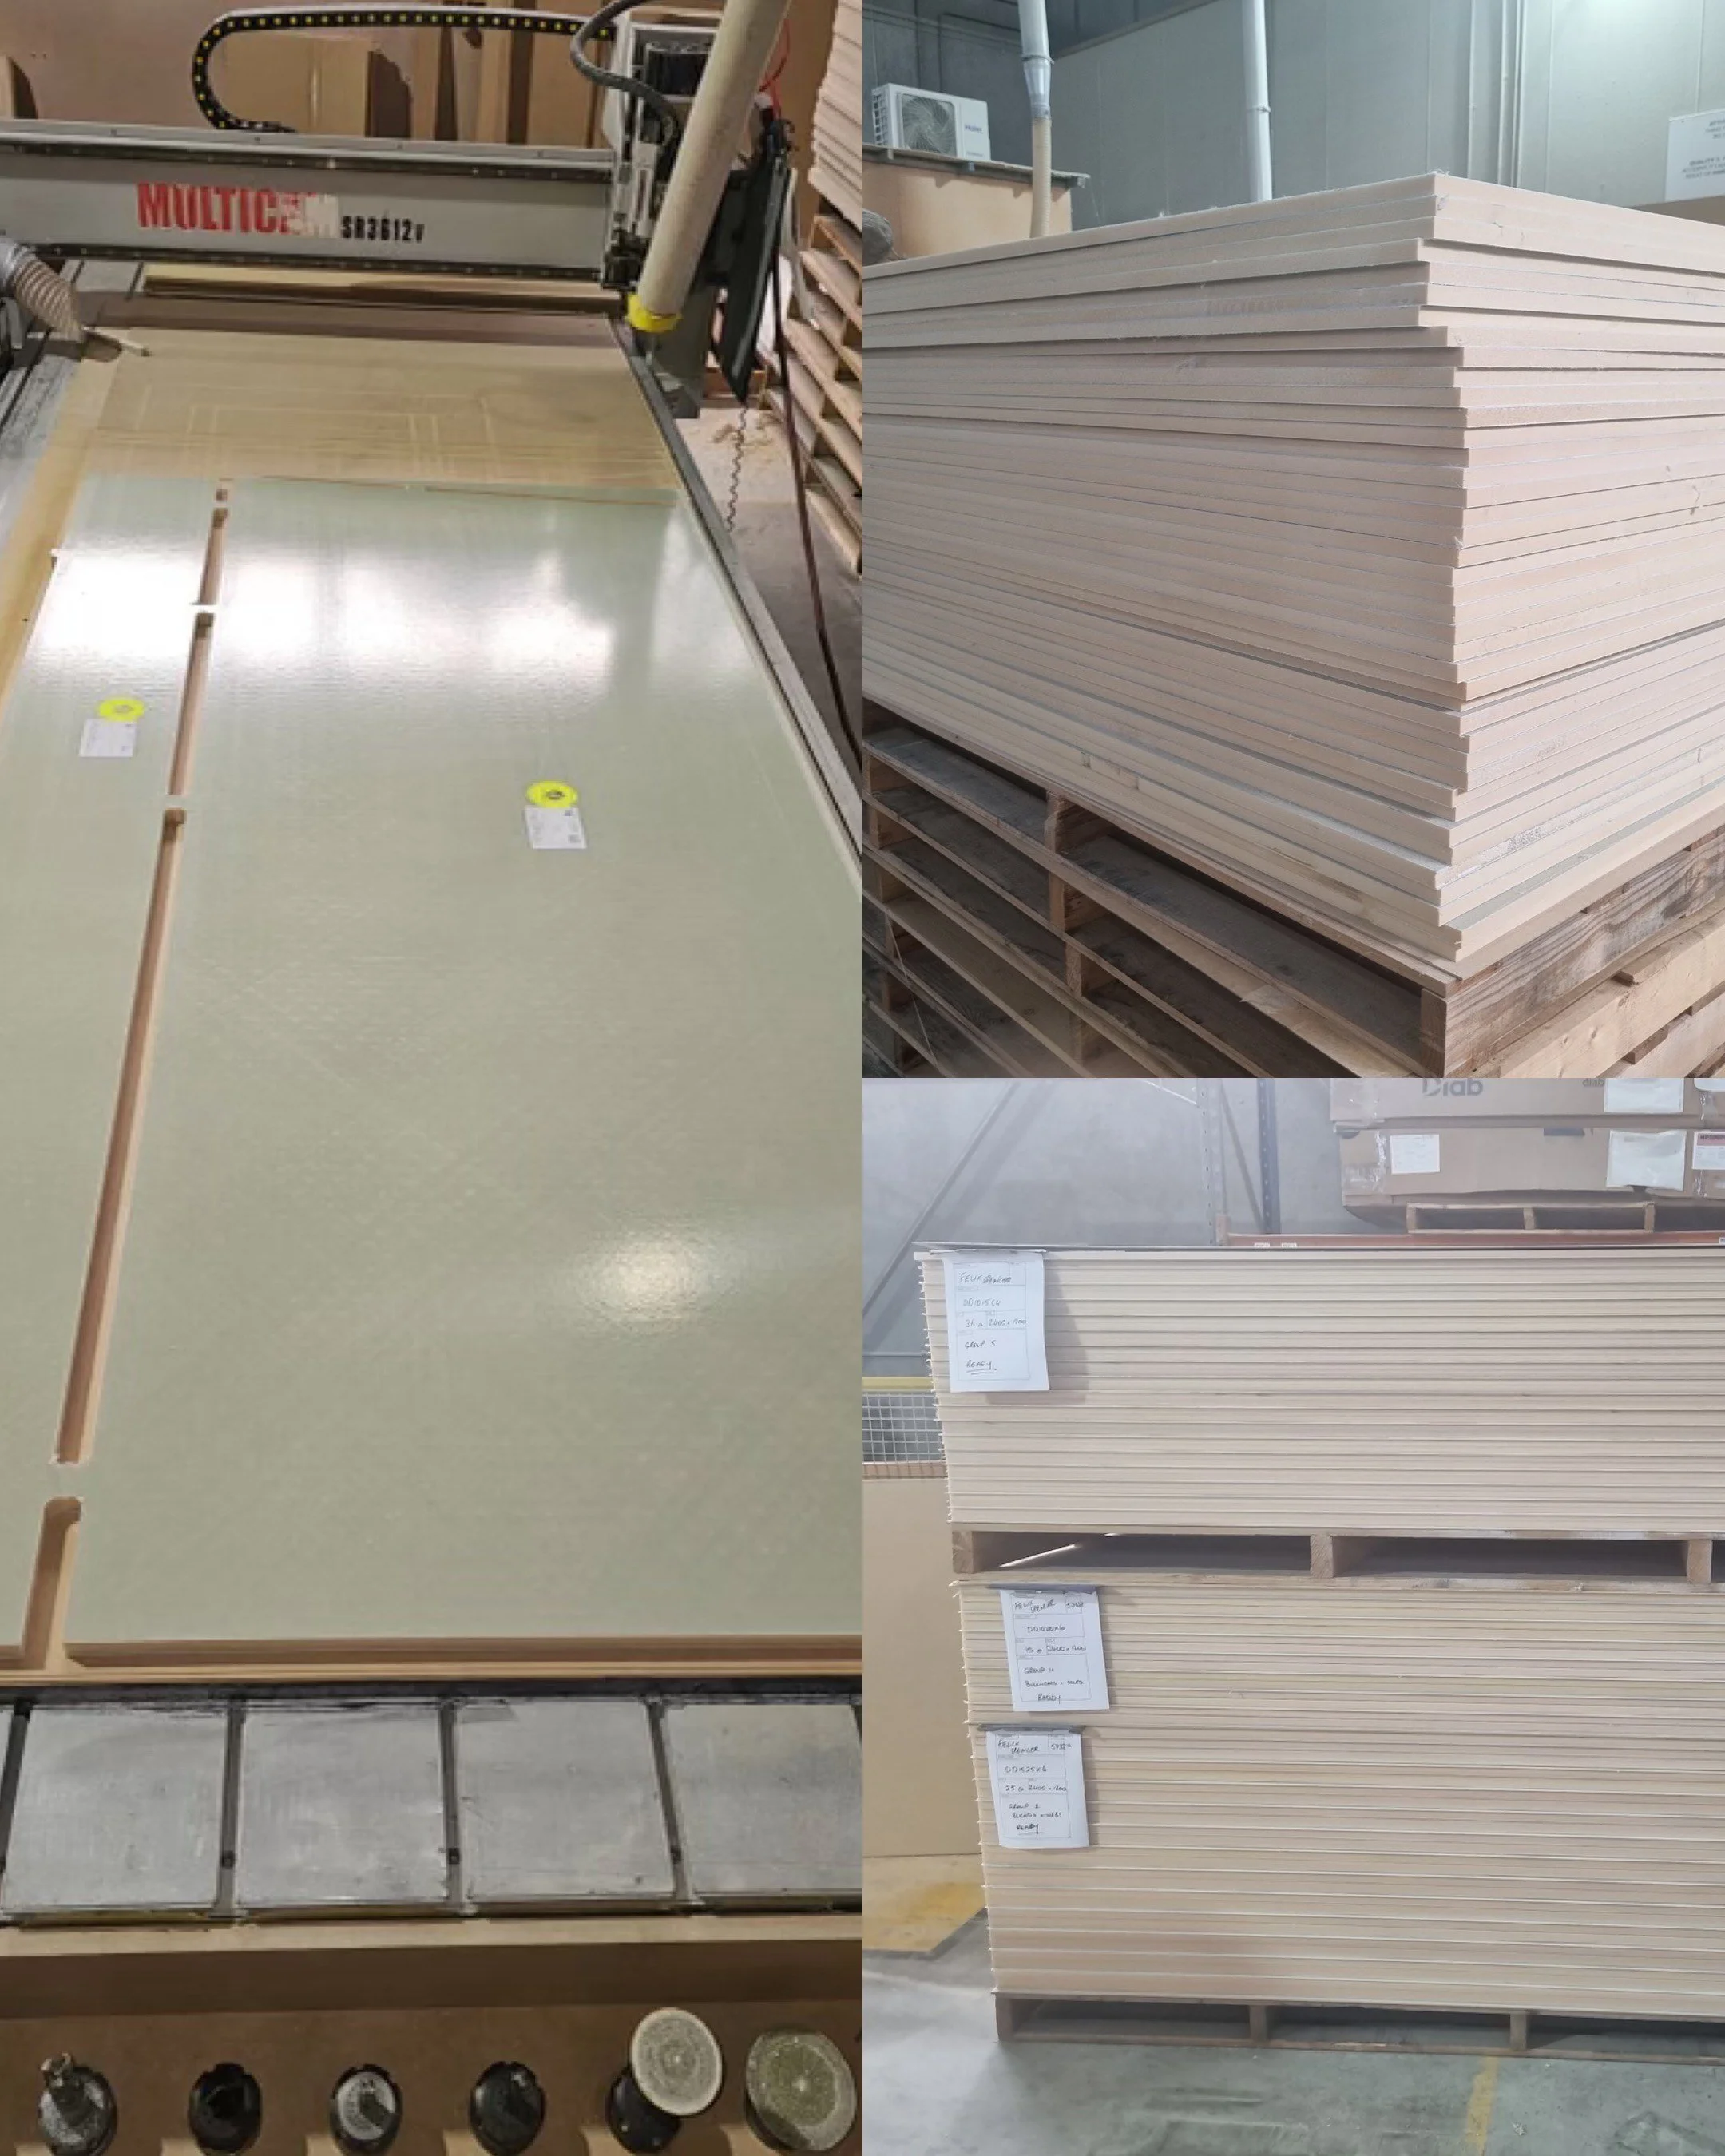
Our kit being produced and cut at ATL Composites
With all going to plan, we should have our kit in less than a week’s time, just before I have to go back to work. Let the building begin!