Pieces of Yacht Owners
It has been a very busy month for boatbuilding, starting with the arrival of our kit! Travelling 3,735kms all the way from Queensland, she’s done some serious miles before even hitting the water.
‘Gotcha day’ happened a day earlier than planned – Felix and I were driving around town when we got a call from the freight company. We had been told to expect a call the day before to confirm a time for delivery, but when we answered the phone, it turned out the truck was out the front of our house with the 11 pallets. Not ideal, as we didn’t have a forklift to get the 5 tonnes of boat off said truck!! Massive thank you to Tim and Steveo who were able to get Tim’s JCB round and unload those pallets off the truck and into the shed – it would’ve been a very very very long day if we had to unload 190 panels by hand!
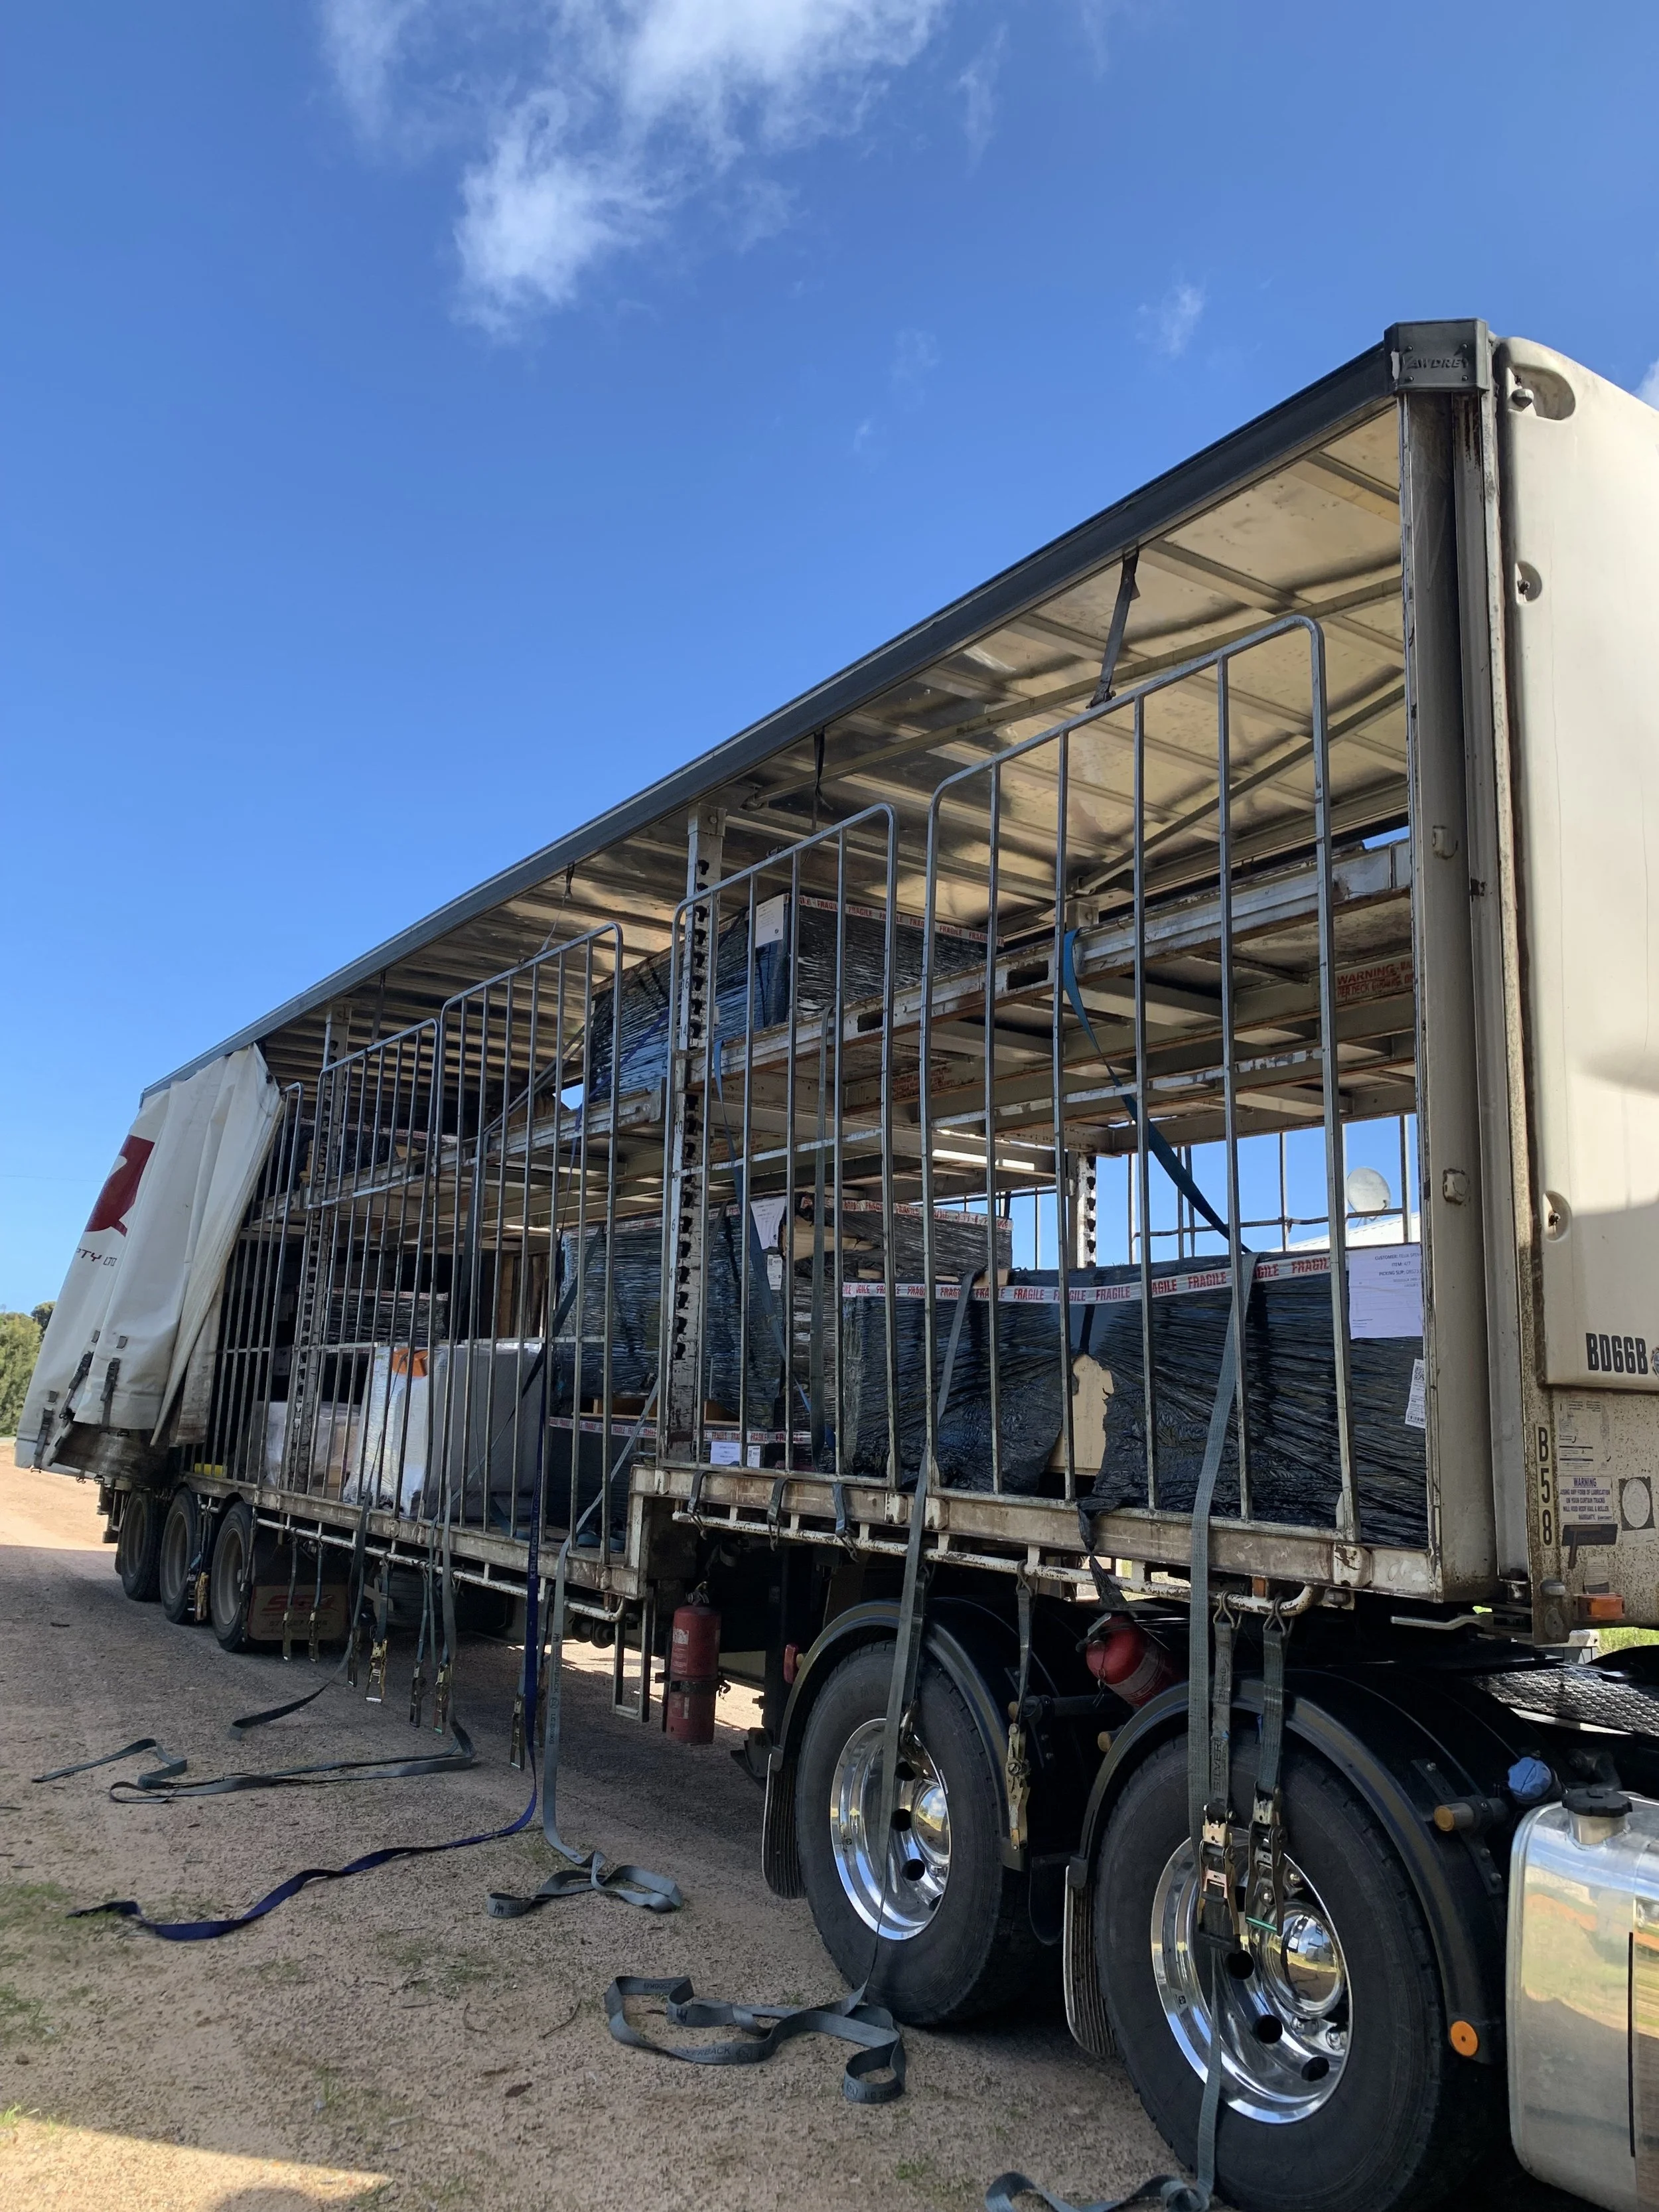
5 tons of boat on a trailer
And just like that, we were officially (pieces of) yacht owners. We spent the rest of the day organizing pallets and shuffling resin fillers, fiberglass tapes and peel ply from the shed to the garage. If you’re considering building a Schionning, I highly recommend getting yourself a pallet jack. Andrew and Tracey surprised us with one as a boat building present, and we have used it daily to shuffle pallets around as we get through them and constantly re arrange the shed.
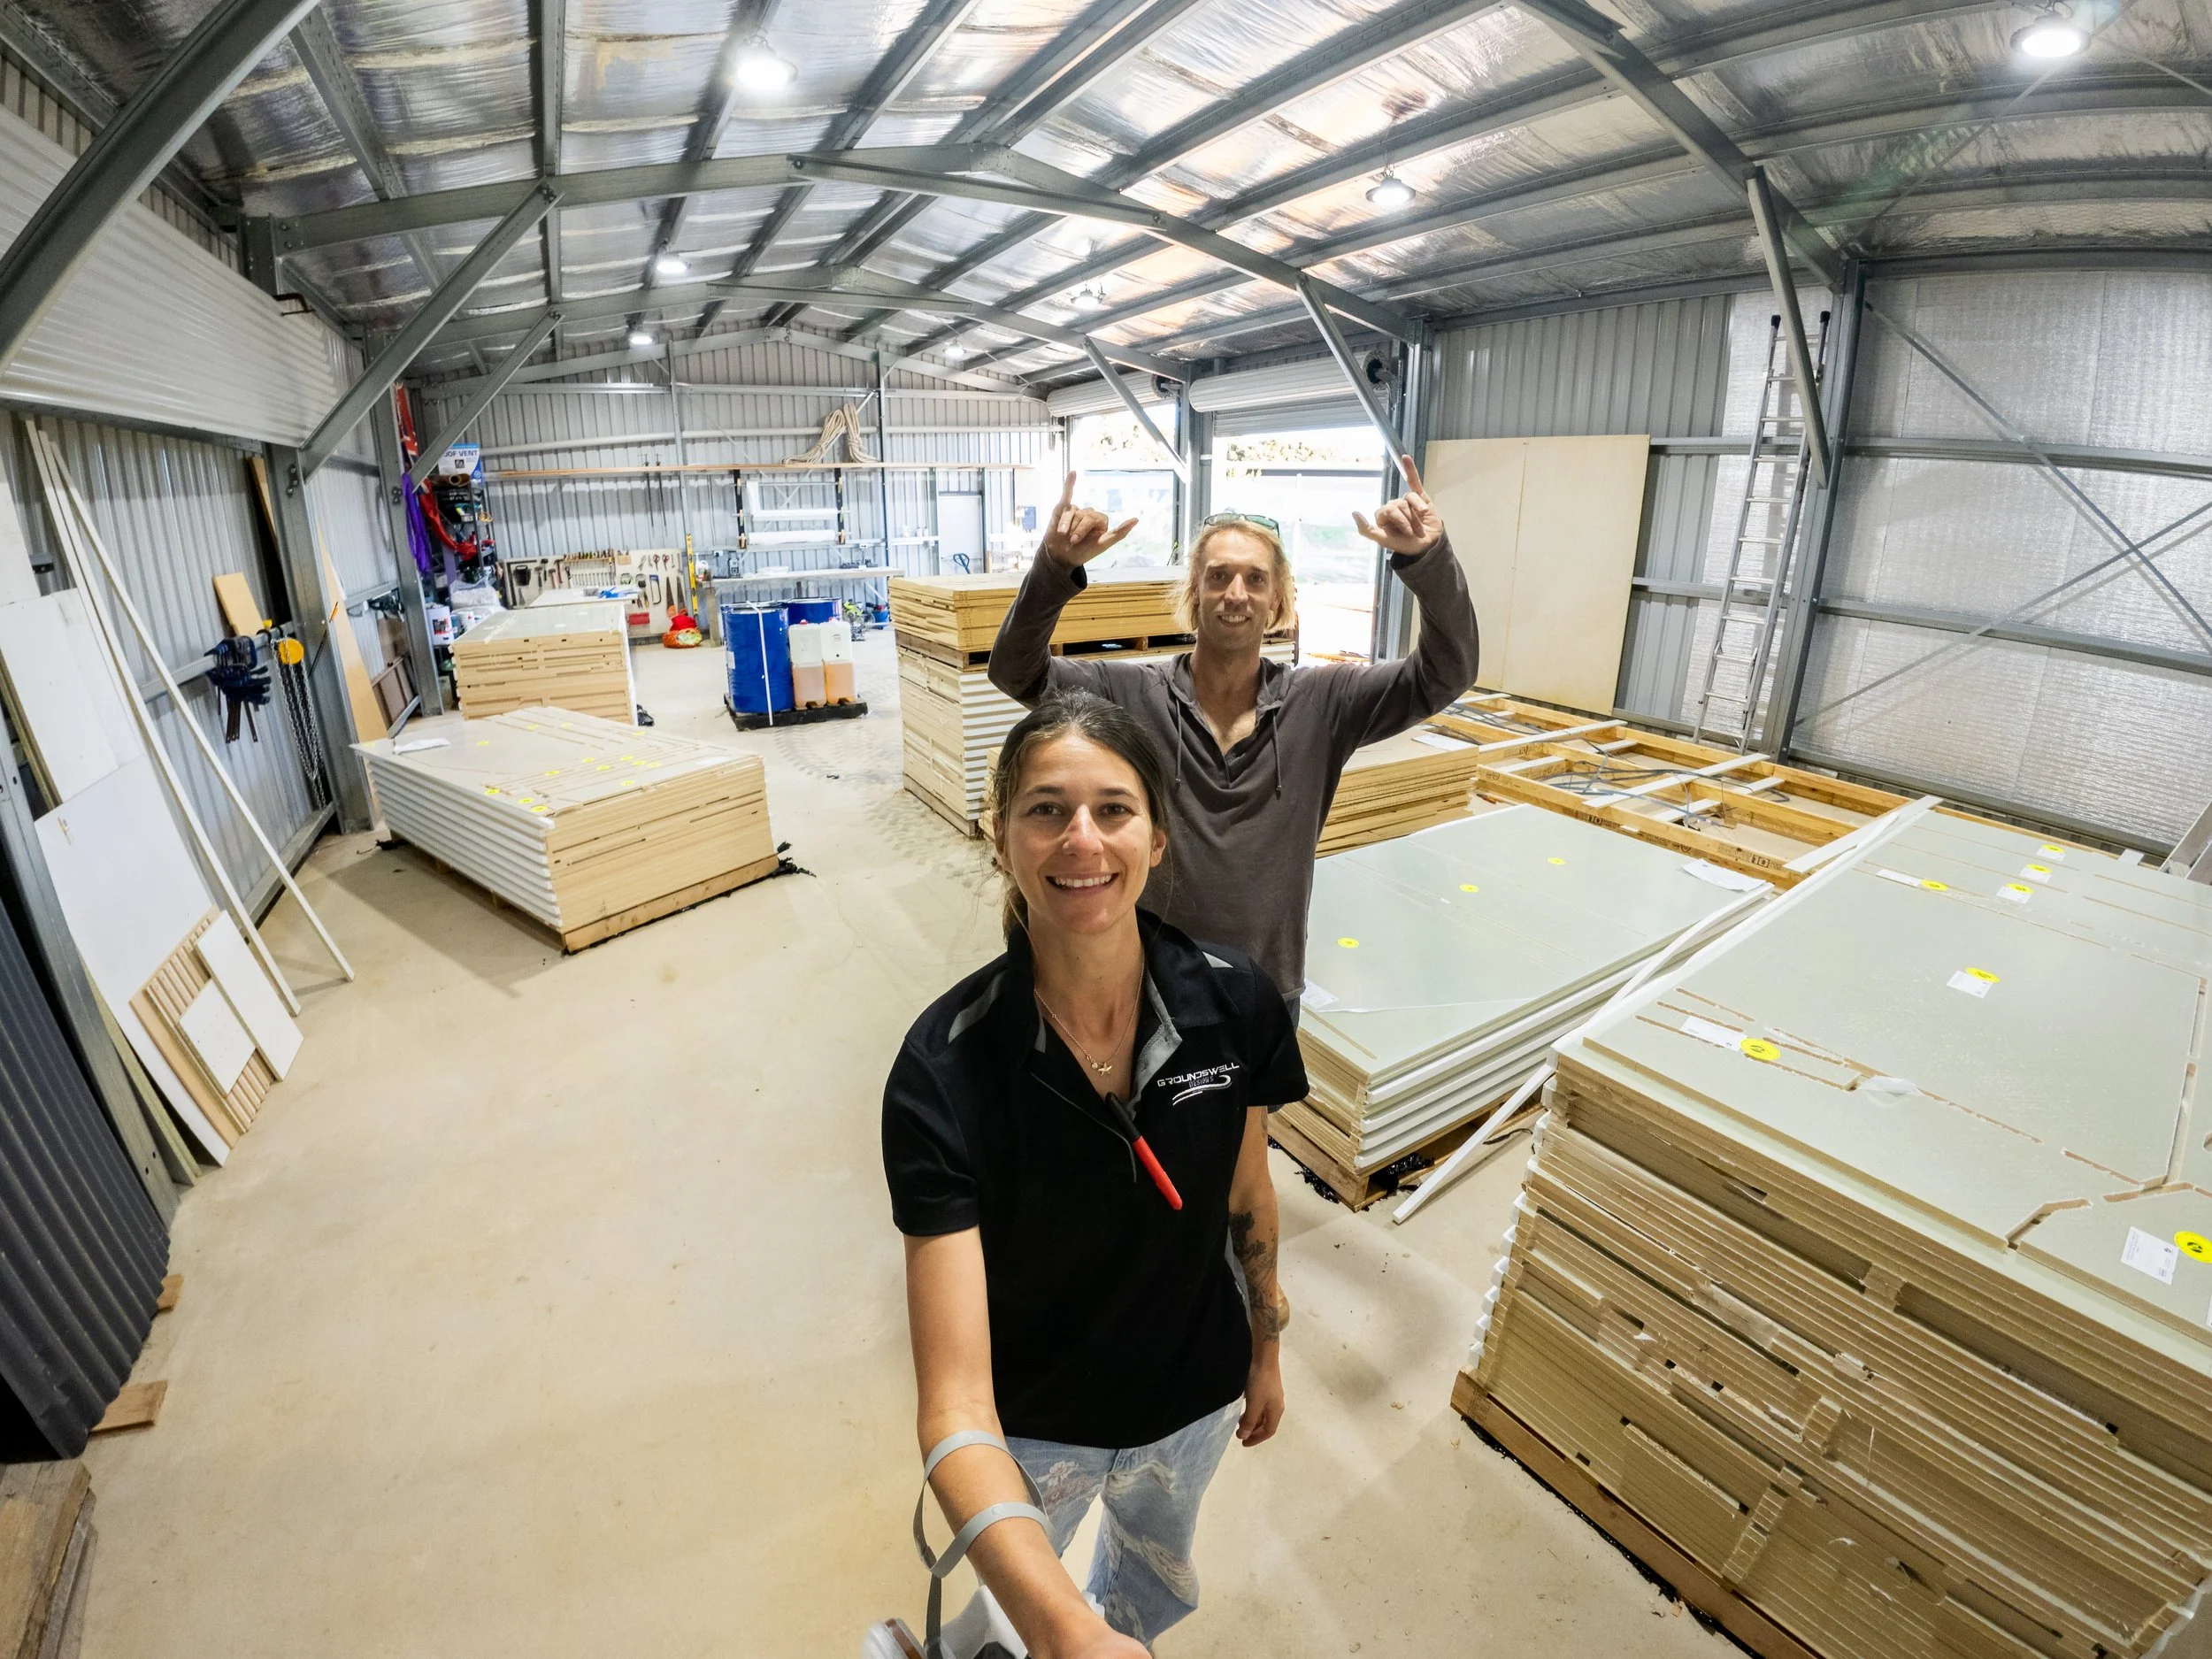
Let the chaos begin. Shed feeling very small…
First job was to remove all the packaging and check for any damage. Given how far the kit has come, the damage was minimal. Only a few DuFlex panels had damage to the z joint edge (likely from the truckies over tightening the straps) and a sheet of foam had a split on the edge. Luckily, these were mostly on material that was going to be an offcut or we could work around.
When designing our kit, we opted for the inclusion of 16mm MDF for the temporary bulkheads, hull build frame, cabin top frame and forebeam frame. All of these were already cut, and didn’t require removal of tabs (a nice surprise!), only sorting out and writing part names on each piece. It was an extra $$$ to purchase the MDF, but I can already see how much time it has saved us from building a jig on our own. The only thing we have to do to these jigs is notch out the corners – the router can only create a curved radius in this tight space, so to get the jig to piece together level we have to cut a little bit out of each join to create a 90 degree corner.
Next we laid out the first of the 20mm DuFlex panels, ready to join. Our joining process is below;
1) Lay out panels on jig in correct order. Clean with acetone
2) Mix up enough resin and filler for one panel. For the joining, we use West System epoxy and 413 microfiber filler.
3) Apply resin mix to the panel. We found a small paintbrush works best for this.
4) Line up panels with string line and push together, double check for alignment
5) Clamp together. A strip of pre cut melamine on the bottom and top of the join (with plastic packing tape on each side to prevent the glue from sticking) is pre drilled and screwed together, squeezing the join flat.
6) Repeat for the other 188 panels!
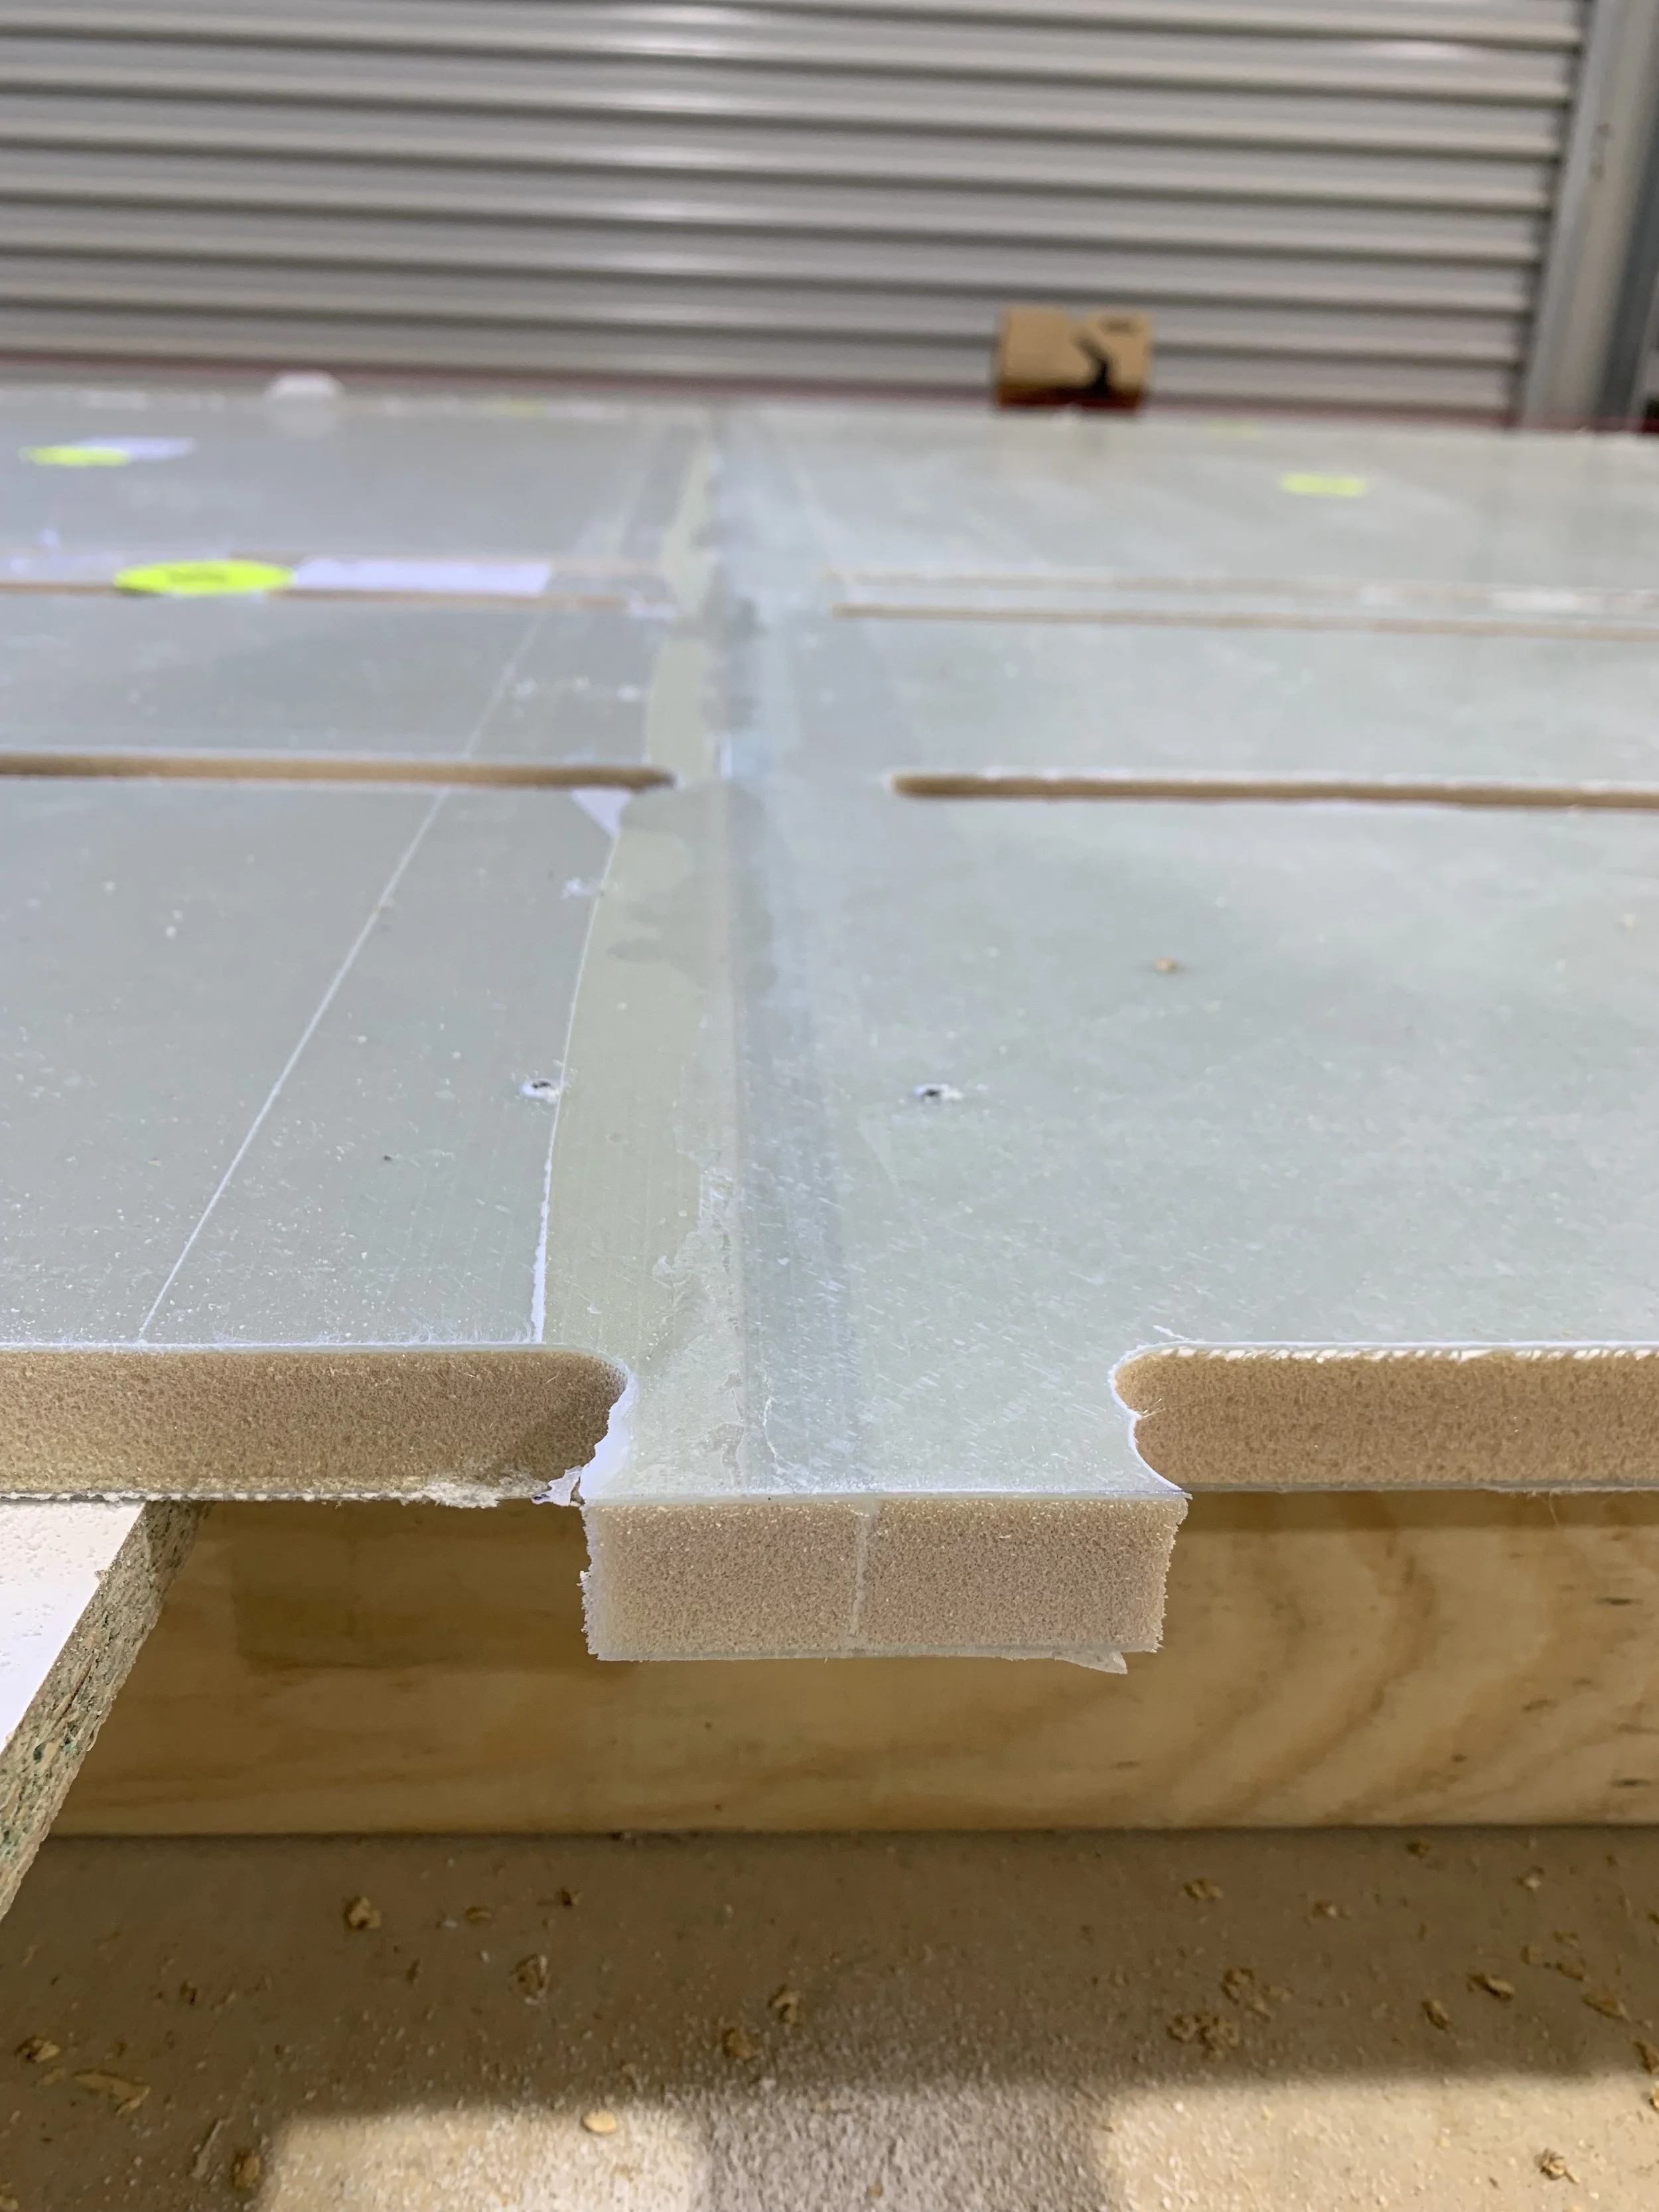
Cured join - Epoxy with microfibre filler. When finished, the z join becomes almost seamless.
Another helpful purchase was the West System pump dispensers, which pump out the correct 5:1 ratio for mixing. One pump of epoxy, in a 20L drum, and one pump of hardener, in a 4L container, saves a lot of time measuring out!
Before cutting up the joined panels, we waited approx 12hrs for the join to cure. So in the meantime, we began work on the forebeam. Remember all those strips of WRC in the last post? Time to use them!
We had our first mischief of the build though - we started by laying the cedar planks at the bottom of the curve, following the middle part of the jig. When we approached the final planks at the top of the curve, we realised that we were going to end up with a vey annoying half width piece required. So all the planks came off, and this time we started at the top of the curve, which worked much better. Now we can plane down to size a much smaller amount.
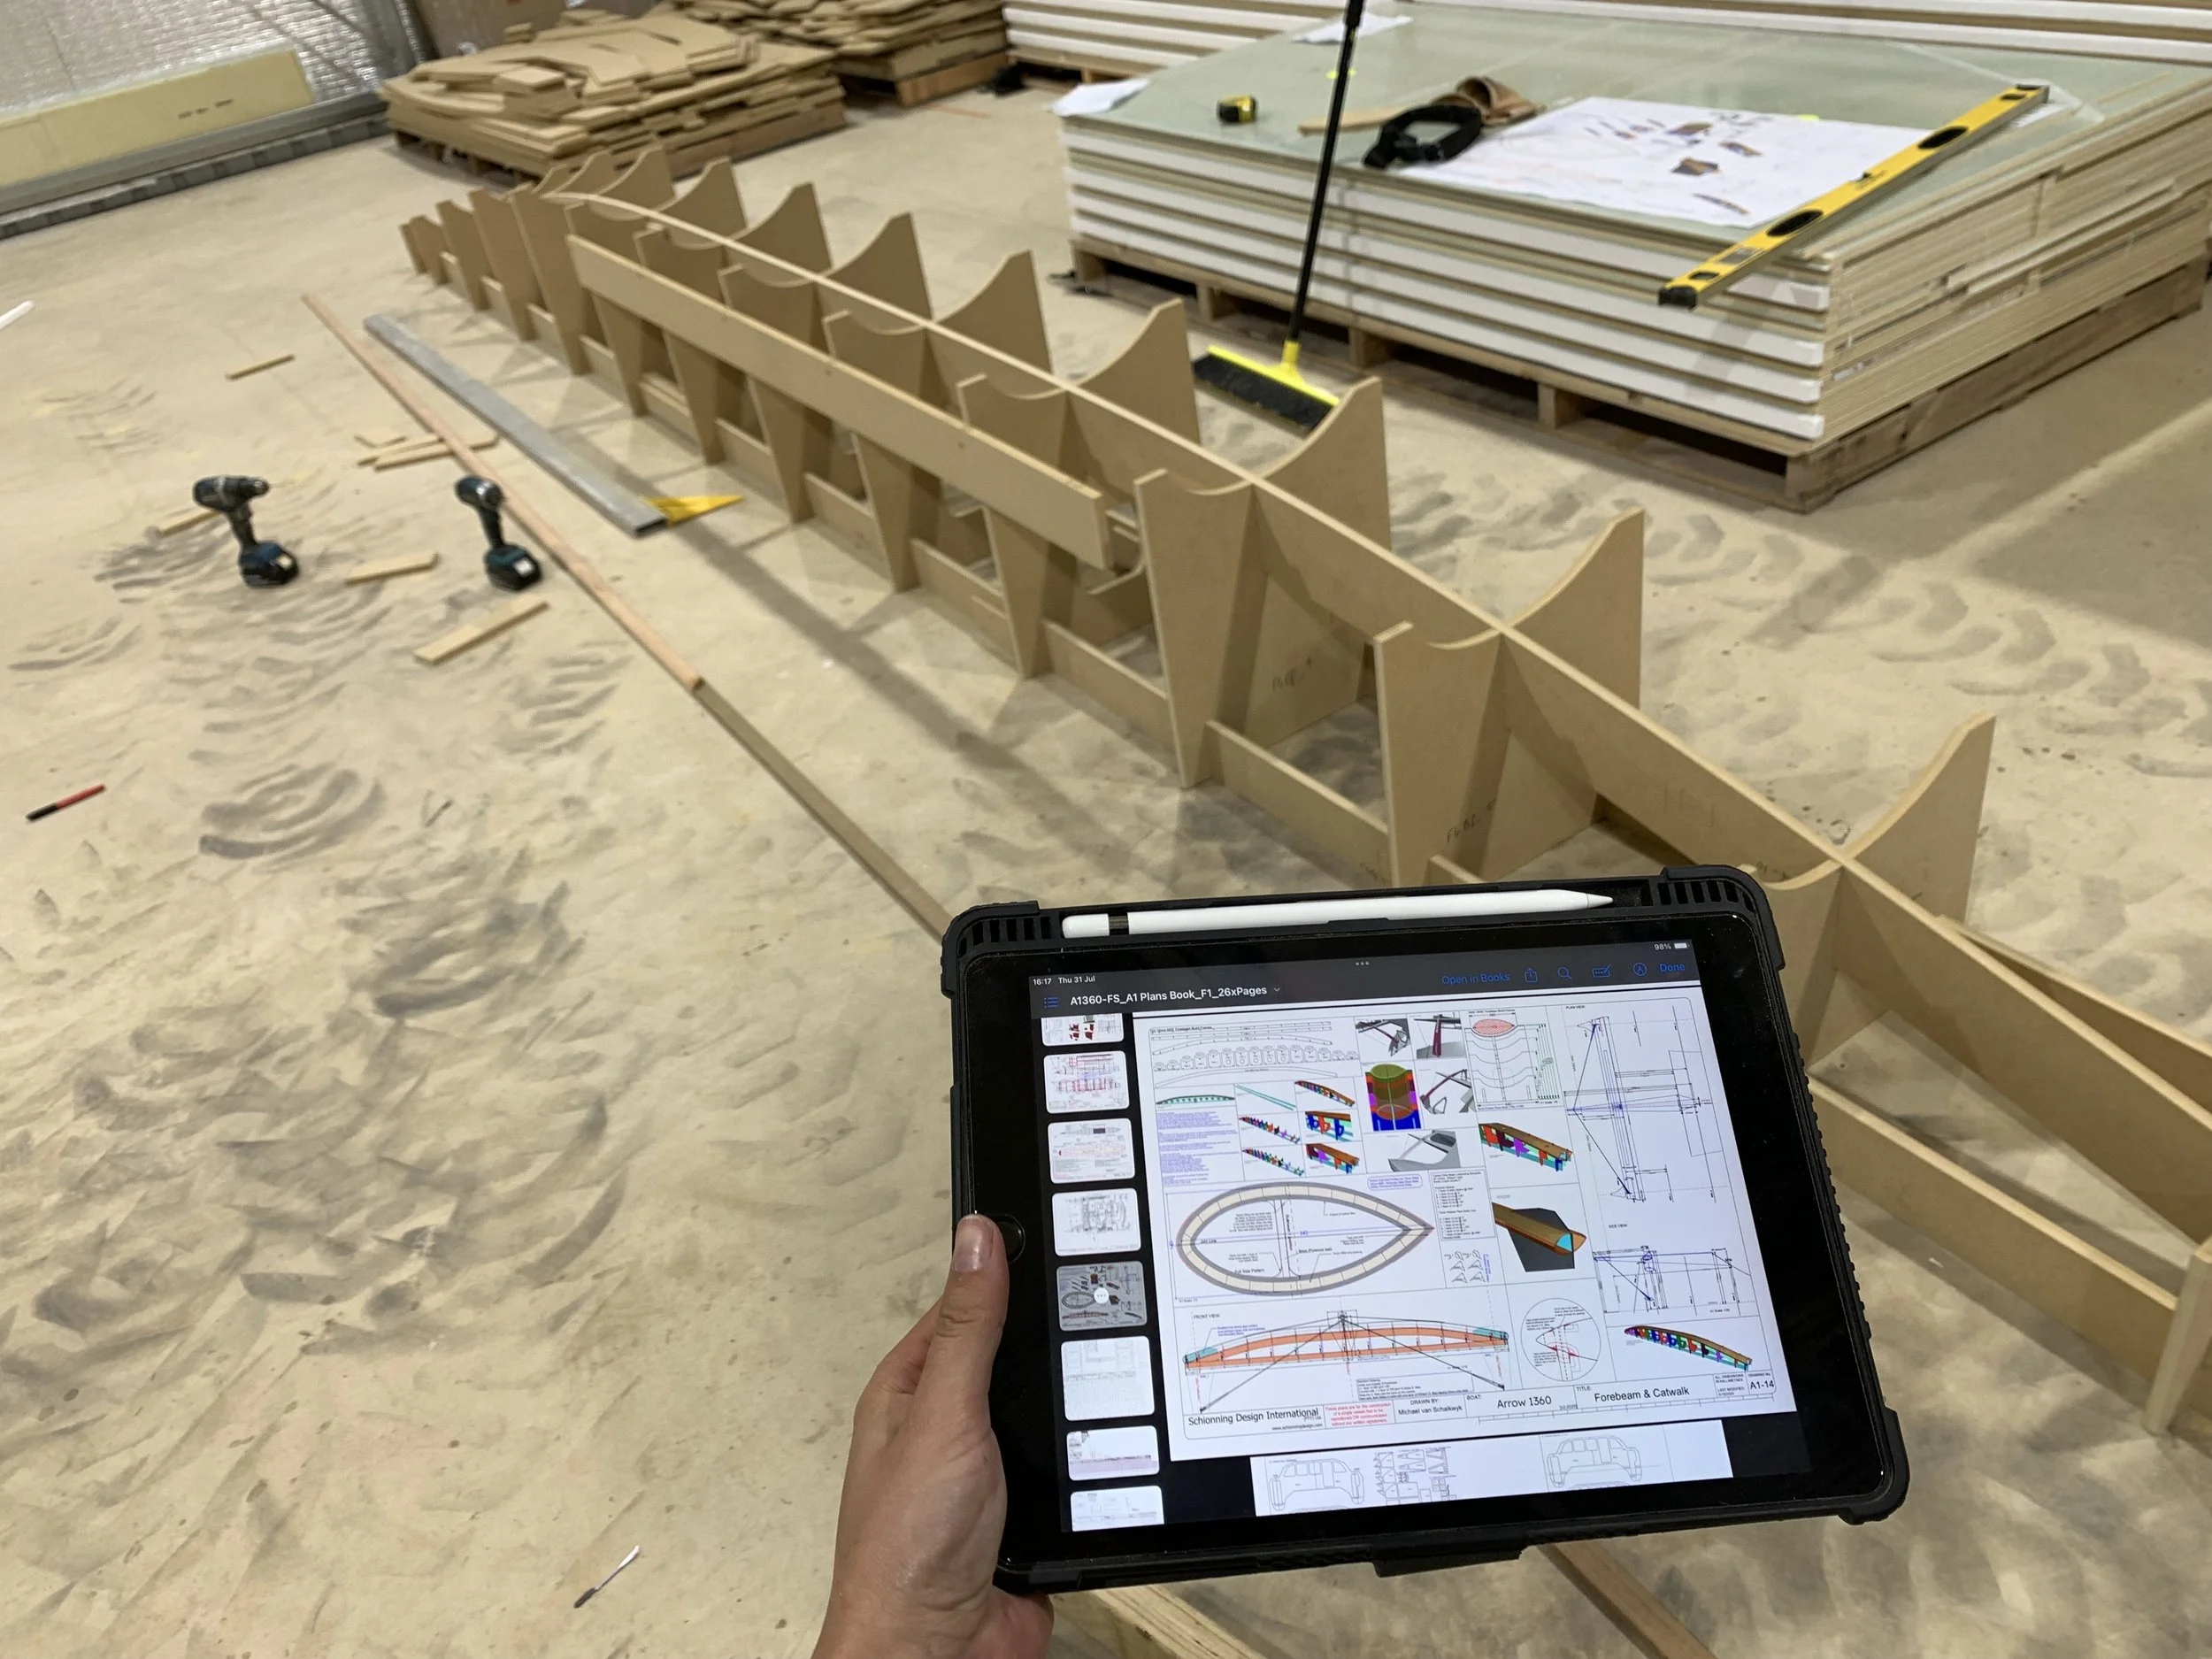
Building forebeam jig
The forebeam is still a work in progress. I went back to work, and Felix continued on with the panel joining. After 4 weeks away, I came back to all panels joined, ready for the real building to begin!

DuFlex panels left right and centre