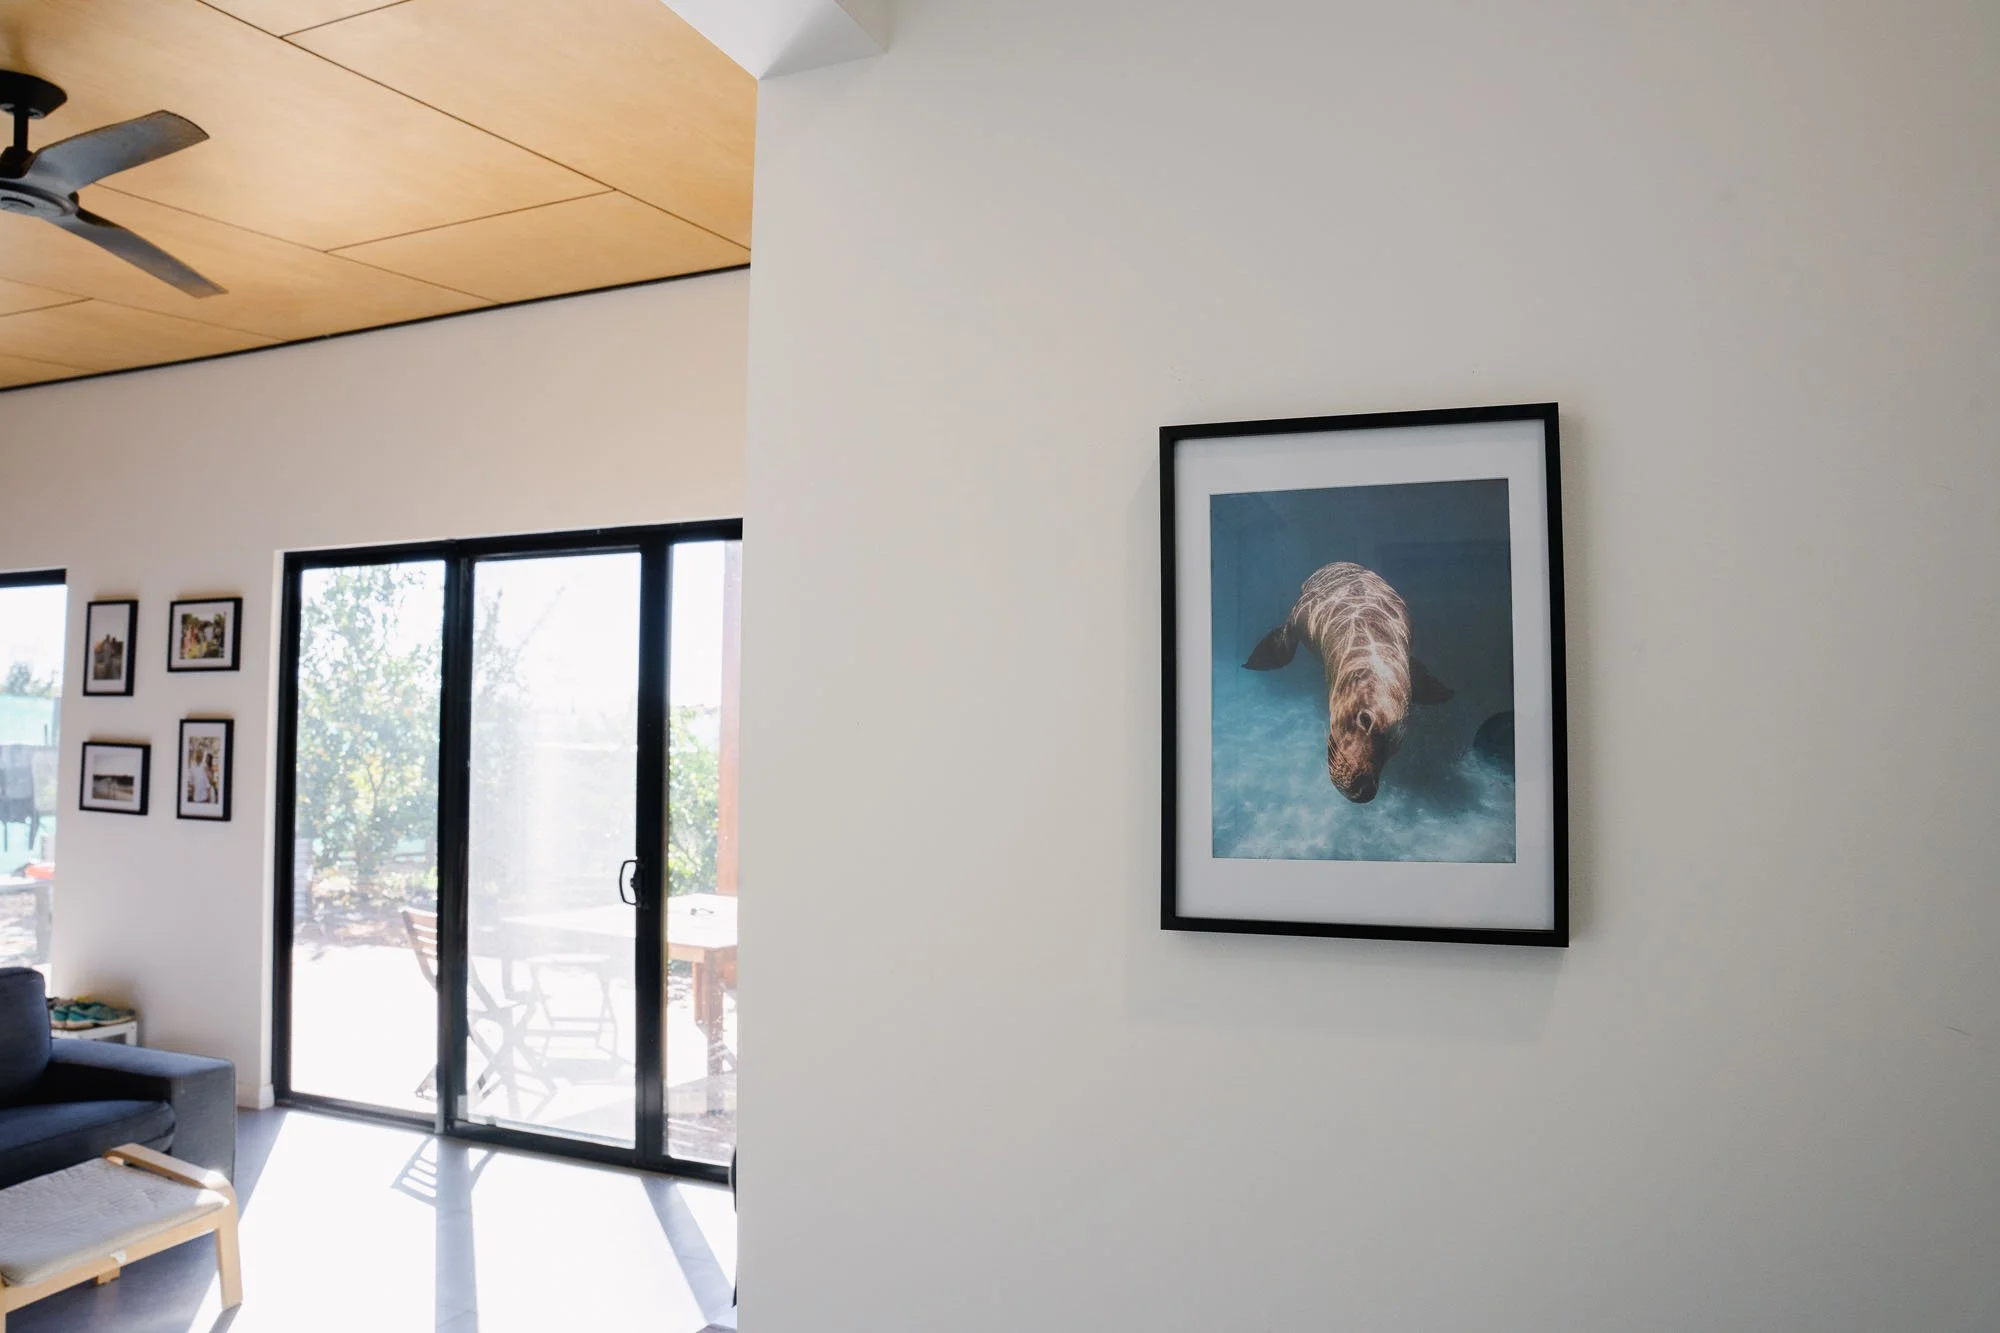
How to Turn a Calendar into Framed Ocean Art
One of my favourite things about creating the yearly calendars is knowing that the photos get to brighten someone’s home for the year. But what happens when December rolls around?
Instead of throwing the calendar in the bin or recycling it, a great alternative for your favourite images is to turn it into wall art!
The calendars are printed in portrait A4 – by the time you trim the hanging and binding holes off, they fit nicely into a 8x10 frame.
THE TUTORIAL
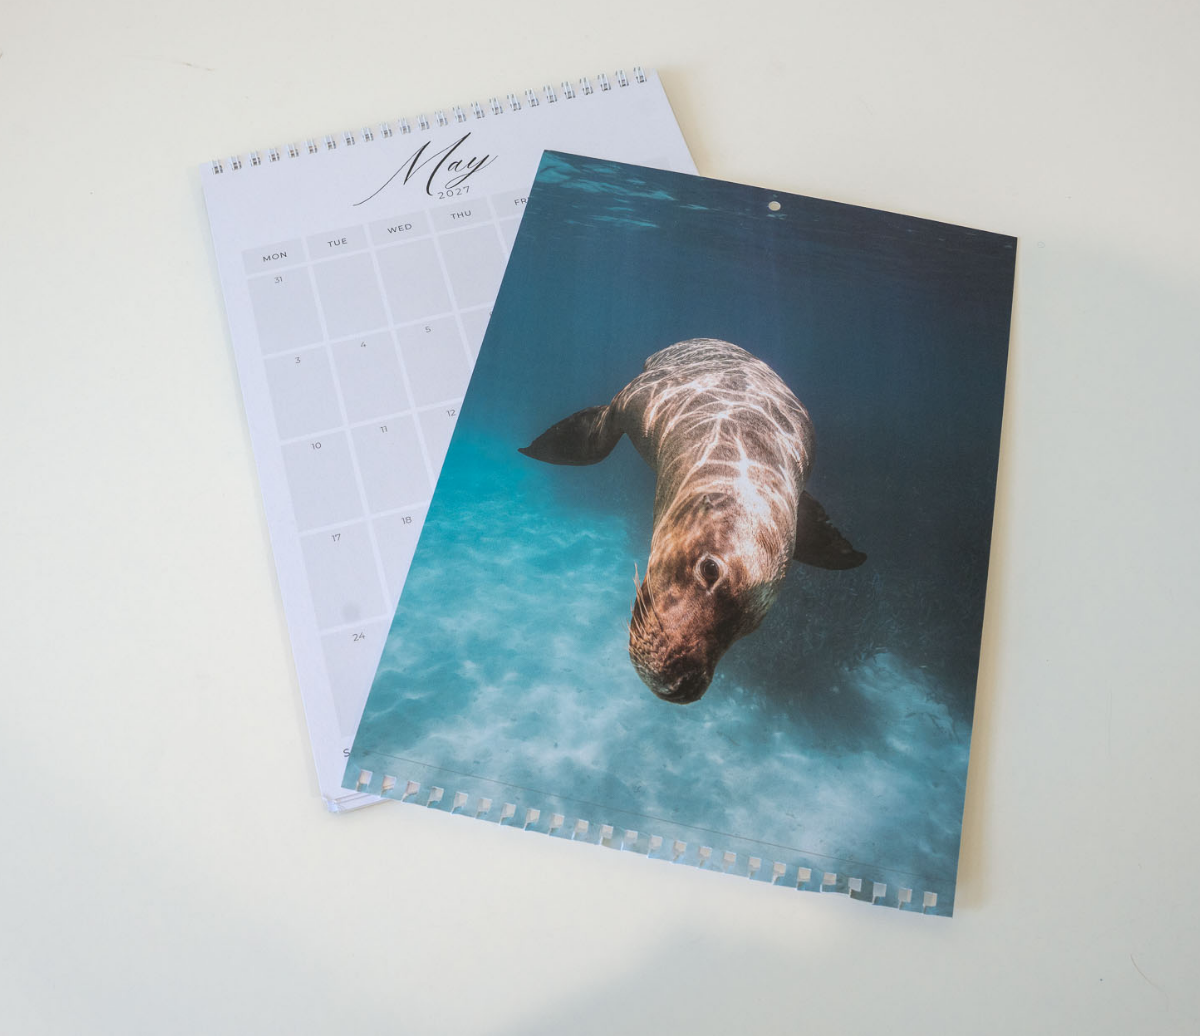
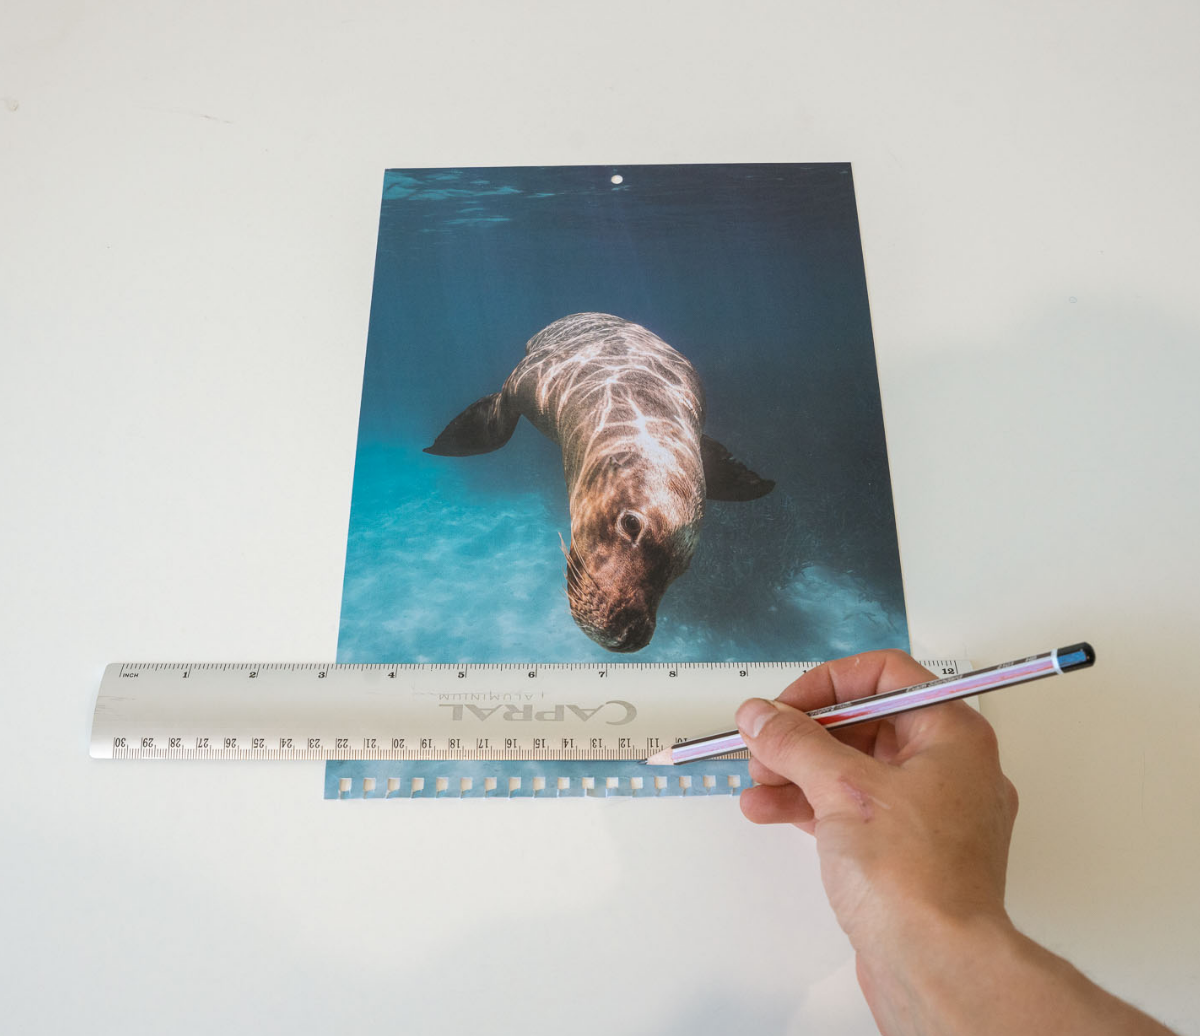
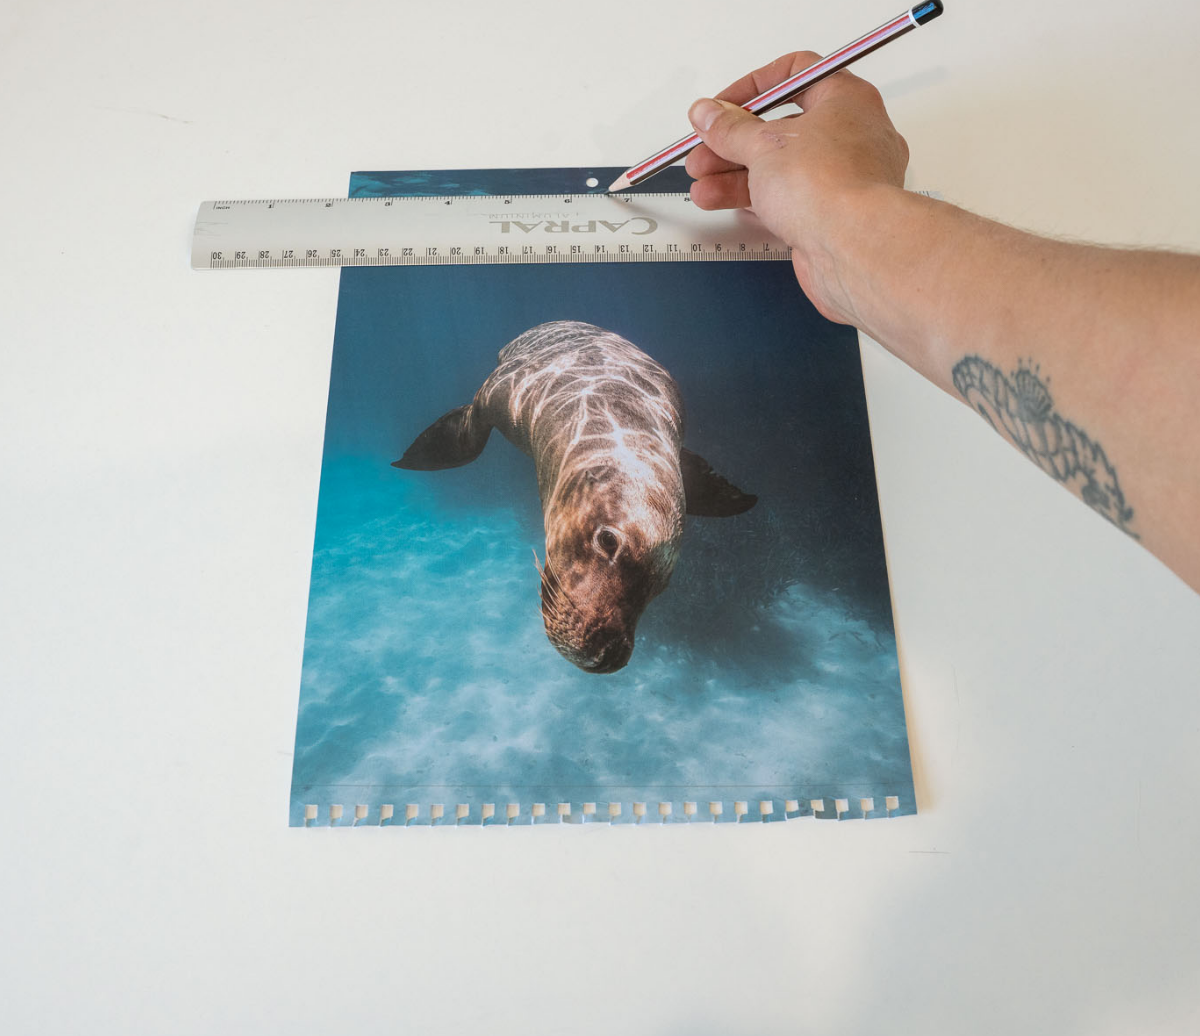
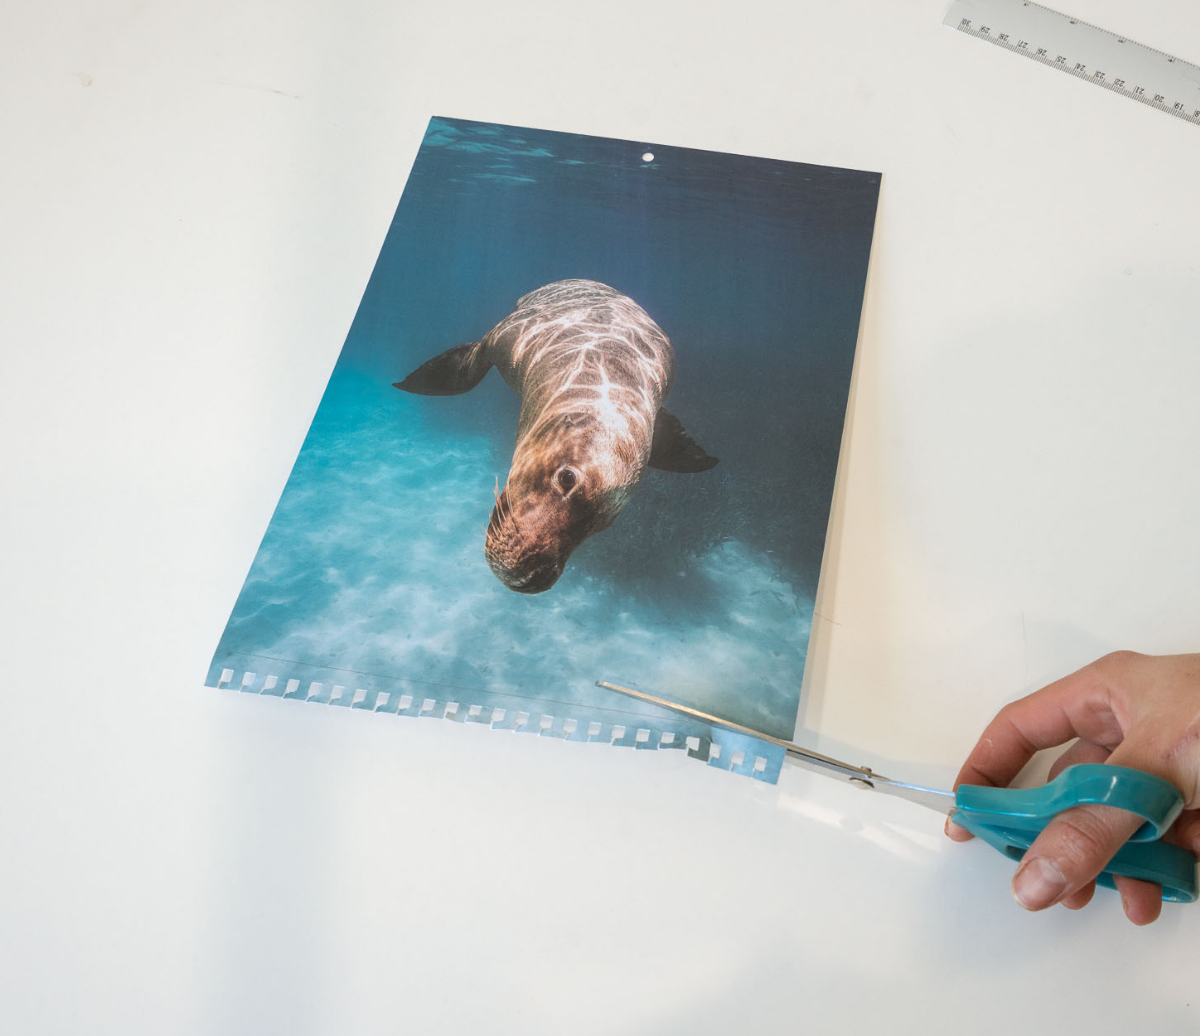
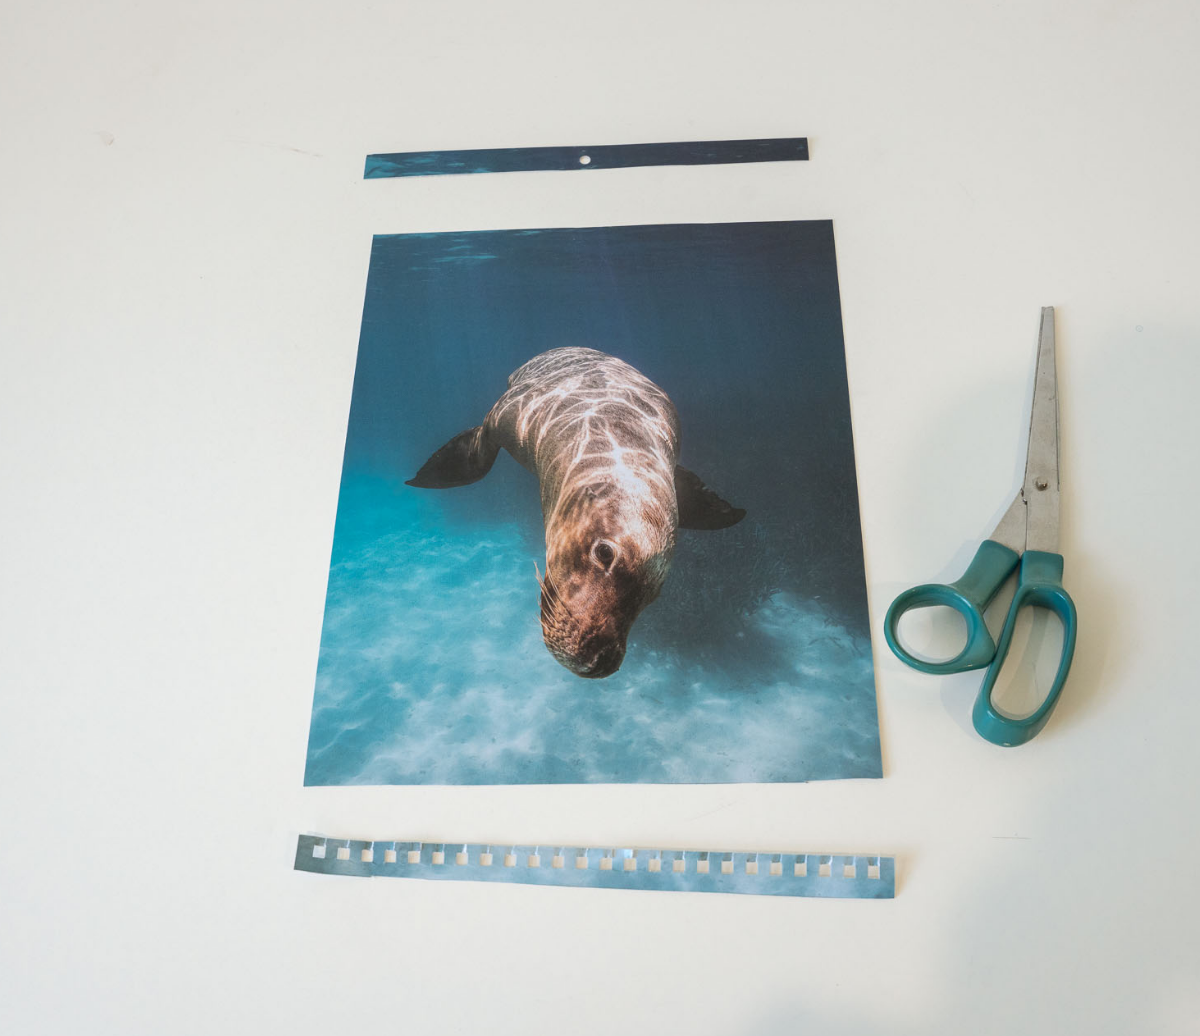
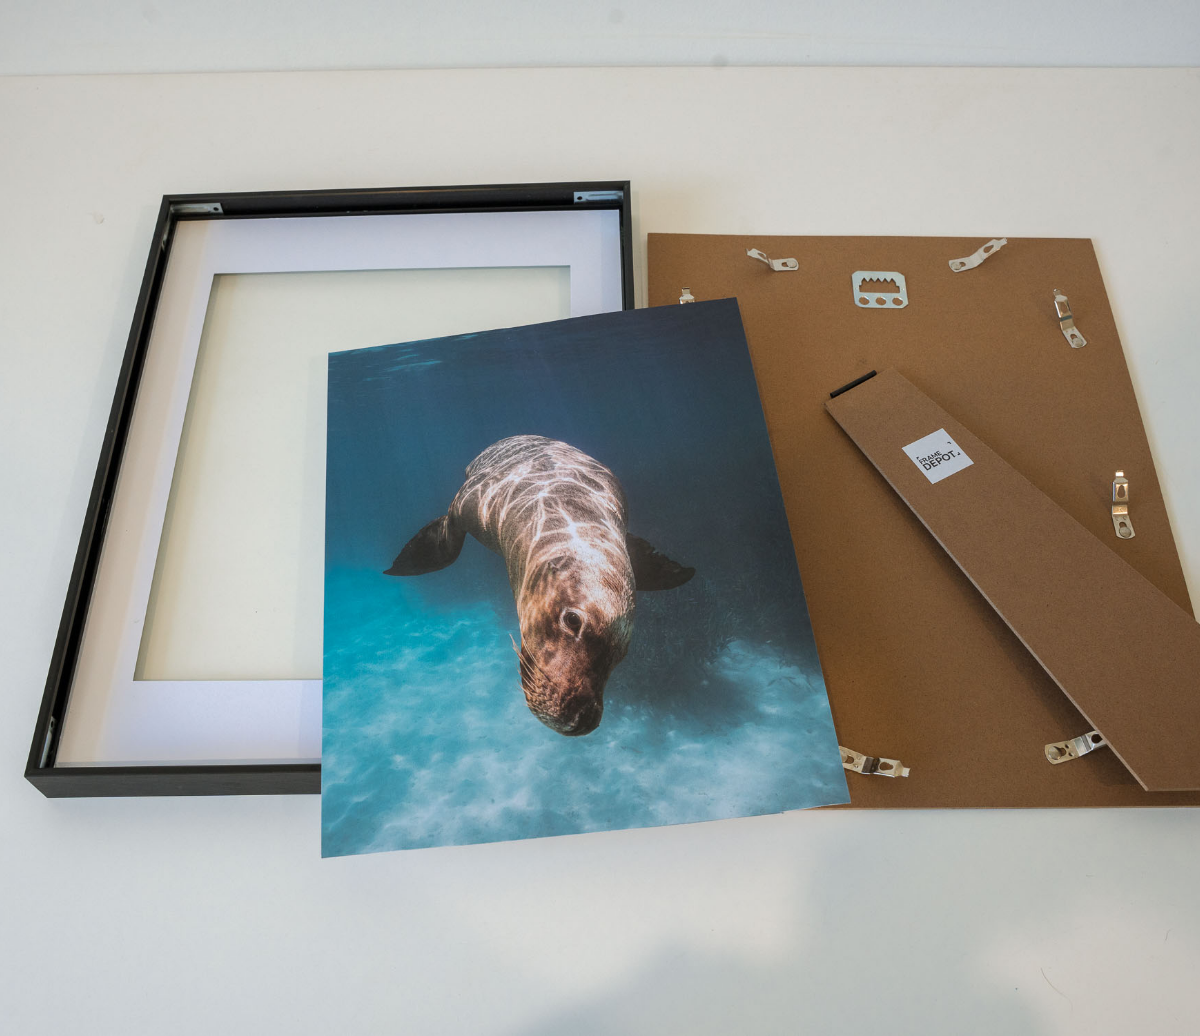
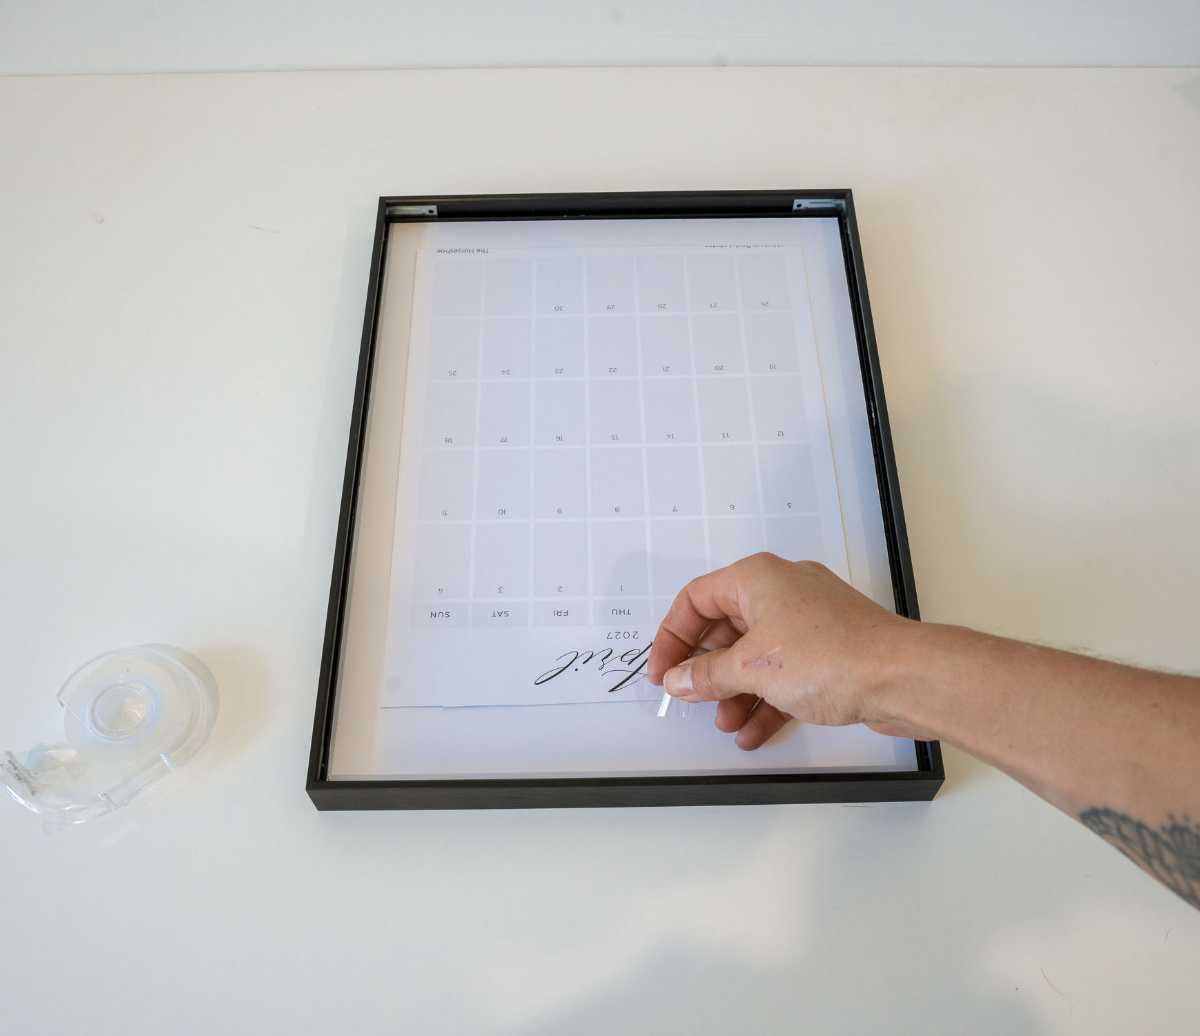
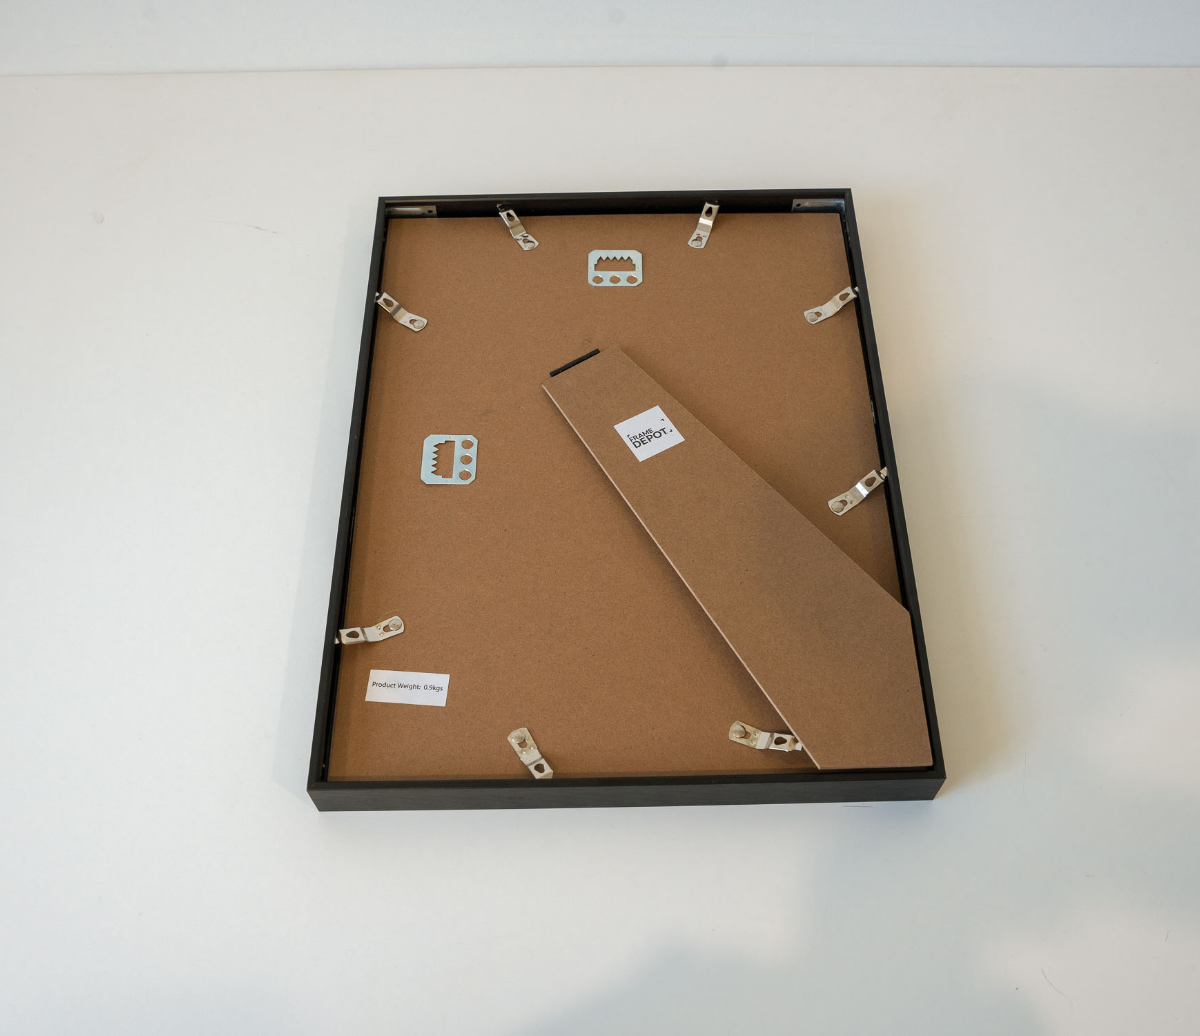
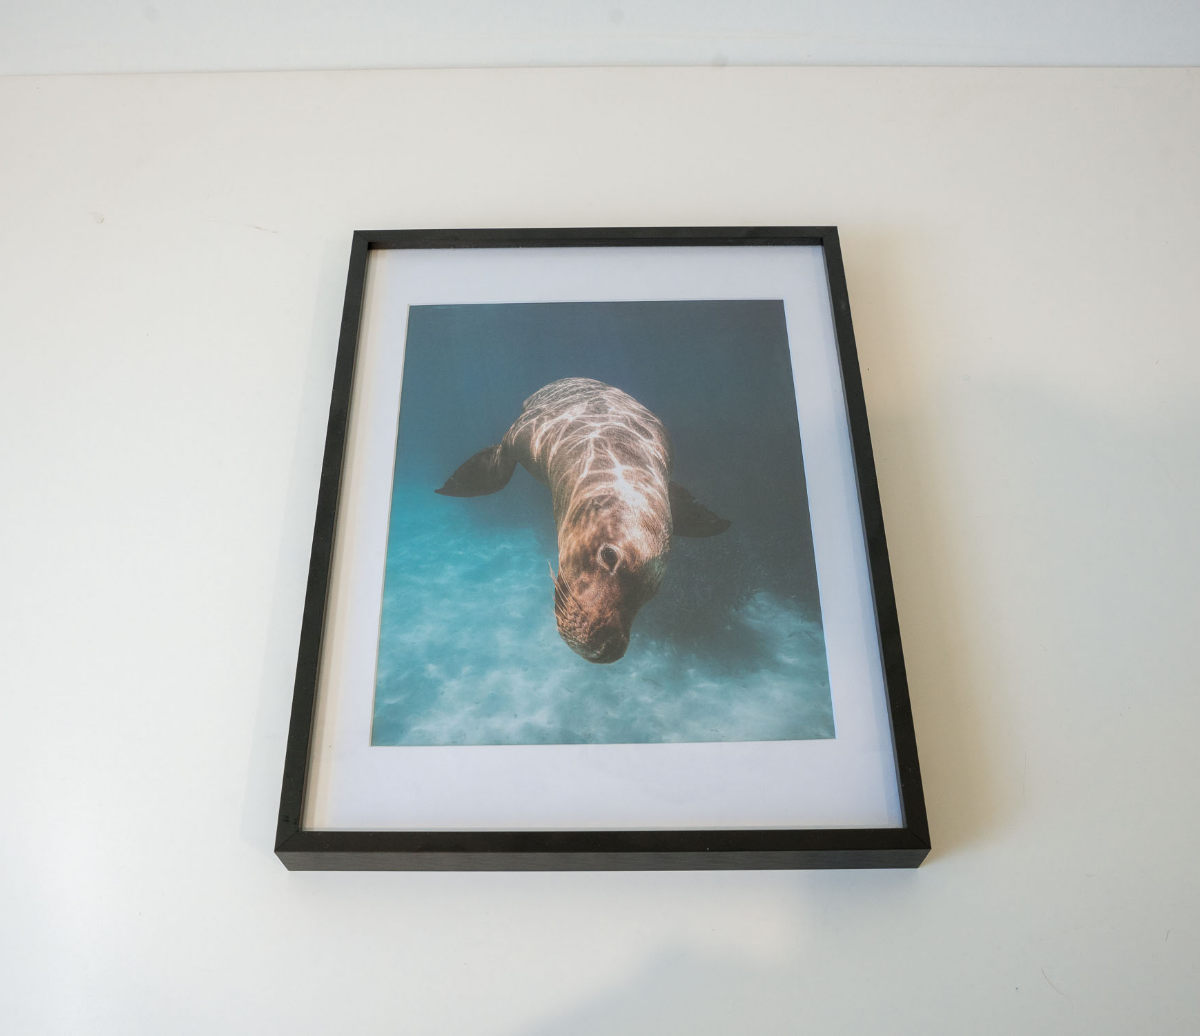
Select your favourite photo and carefully remove it from the calendar
Use a ruler to mark some cut lines above the binding holes and the mounting hole
Cut along the lines to separate
Place into frame – you may need to hold in place with some sticky tape depending on the frame
Put the back on the frame, and tadaaa! Ready for use in your home
TIP: Spotlight has some great budget frames – this is the one I’ve used in the above example: Frame Link
One of the main reasons I started Onikas Ocean was to bring affordable local images into people’s homes. With the cost of living right now, I understand that not everyone can afford to spend money on high-quality prints and frames – I designed the calendars to serve as both a functional item for the year and also to be repurposed as art. It’s also a fun way to refresh your space throughout the year – swap images, create a collection of your favourites, or frame one as a gift for someone who loves the ocean as much as you do.
If you do decide to frame your calendar photo/s, I’d love to see it! Tag @onikas_ocean on Instagram or send a photo. I always enjoy seeing where my images end up, and you’ll get a sneaky discount for next year’s calendar.
Happy framing!